Given how popular Ricoh GR series cameras are with a broad range of photographers, it should come as little surprise that people capture amazing photos using their GRs. The Ricoh GR Photo Festival, which started in 2022, celebrates some of these incredible shots.
The term “hot pixels” describes those annoying artifacts caused by pixels that randomly appear as red, great, blue, or even white dots in an image when an individual pixel is significantly brighter than those in surrounding areas within the frame. This tutorial from the Photo Feaver YouTube channel demonstrates how to easily “scan” and remove them in Lightroom.
The problem occurs when a pixel generates more electrical charge or a higher signal than it should. It’s an issue that’s particularly acute when using high ISO settings or when capturing long-exposure photographs and can really spoil on otherwise great shot unless you understand the simple process for cleaning things up.
Instructor James is a successful freelance photographer/filmmaker who posts twice-weekly basic tutorials designed to help beginners elevate their shooting and editing skills. It can be very time-consuming to edit out these image-killing artifacts by conventional means. But James promises that in this installment of his “Two-Minute Tutorials” series you’ll discover a quick fix.
The first step is identifying these unsightly spots and James demonstrates how this is done with a really nice shot of London’s Battersea Power Station that he captured after dark with a 30-second exposure. In other words, “it’s a worst case scenario.” He notes that he turned off the camera’s Long Exposure Noise Reduction setting because doing so can sometime reduce or eliminate the problem.
He begins by going to Lightroom’s Remove tool and zooming in on the image. Even then, the hot pixels can be difficult to see. This is where the Visualize Spots slider comes to the rescue. All you have to do is enable this feature and follow the instructions that James provides, at which point the spots in need of repair will pop into view.
The all-important step once the hot pixels are identified is banishing them with the normal Remove tool and it only takes James a minute to describe the straightforward process. Simply choose the appropriate brush size and paint them away. He notes that the longer the exposure, the more spots you’re likely to confront.
In any case, the technique is clean, effective and super simple. Once the lesson concludes you may want to visit the popular Photo Feaver YouTube channel and peruse the many instructional videos that are available.
And speaking of unsightly annoyances, don’t miss our earlier tutorial in which another post-processing expert demonstrates four powerful Photoshop techniques for eliminating ugly color casts from the photographs you capture in the field.
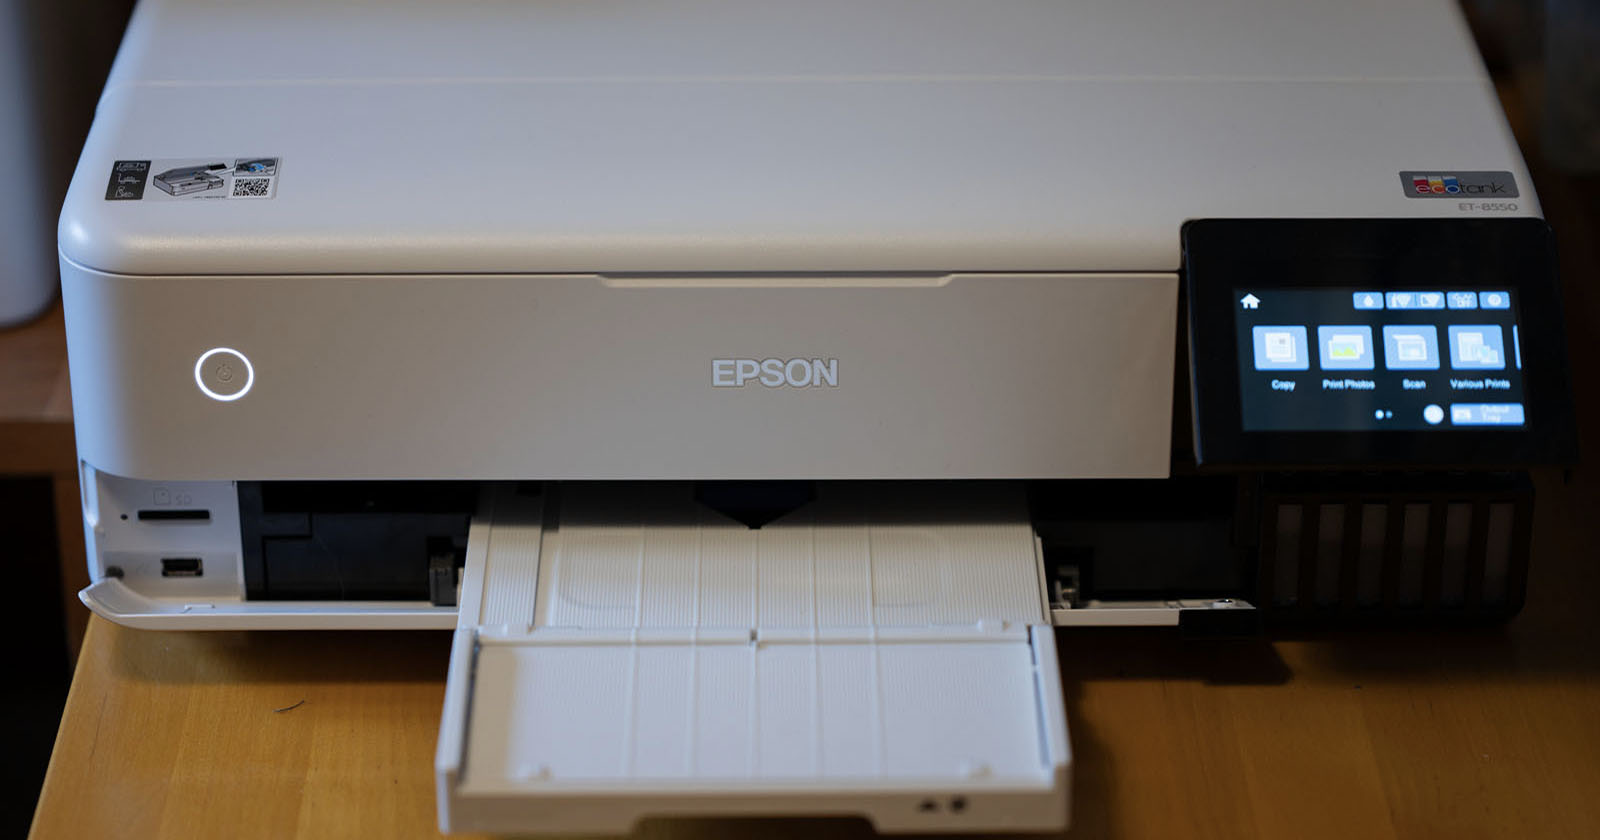
For the past two years, The Verge’s Editor in Chief Nilay Patel has recommended the same Brother laser printer as the best option on the market, even going so far as to renew that guide with an entirely new story that includes a very funny AI-generated text section. However, I disagree with Patel and Brother’s anti-consumer practices are making the publication doubt that choice, too.
German optics company Schneider-Kreuznach, best known by photographers for its large-format lenses for Phase One cameras and its work with Samsung’s long-gone digital cameras, partnered with South Korean lens company Samyang.
The first step for capturing breathtaking images in the field is analyzing light intensity and direction to determine the necessary settings for achieving a balanced exposure. One foolproof method for accomplishing this task involves using your camera’s histogram to get the light right every time without time-wasting experimentation.
Today’s tutorial with instructor Alex White covers all the basics by explaining what the histogram is, how it works, and simple methods for taking advantage of this straightforward tool to eliminate unnecessary guesswork. It all happens in the next 12 minutes, and then you’ll want to add this technique to your everyday workflow.
You won’t be left out in the cold if the camera you use doesn’t feature a live-view histogram because White walks you through the simple steps for a quick workaround. He also demonstrates how to make an exposure bracket of multiple images, each at a slightly different exposure, in situations where you can’t capture all a scene’s dynamic range in a single shot. Then simply follow his straightforward instructions for merging these photos in Lightroom.
White explains the game-changing concept like this: “The histogram is basically a representation of every pixel in your scene and the light level of those pixels.” Everything on the far left of the graphic is pure black with no detail at all; conversely, what you see on the far right represents pure white where there’s also no detail to recover.
The lesson includes real-world examples of what White considers photos with good and bad exposures so you’ll understand the process that he recommends. In short, you’ll learn why the histogram should be one of your best friends if your goal is to avoid blown-out highlights, crushed shadows, and improperly exposed midtones.
There’s also an important discussion of how the meter in your camera works to determine an accurate exposure of “average” subjects; namely, those with an overall value of 18% gray. Unfortunately, many complex landscape scenes have a wide-range of tones that simply don’t represent a mix that could be deemed as average. And this is where the easy-to-interpret histogram comes into play. Then White explains how to move forward when working without a live-view histogram.
So what do you do in “impossible” situations where the histogram doesn’t get you where you need to be for capturing a balanced image in a single shot? This ia when the aforementioned exposure-bracketing technique is required, and White demonstrates how to capture the necessary images and stitch them together to create a perfect result.
And don’t miss the eye-opening tutorial we featured recently with another Adobe expert who demonstrates several “must know” image-editing tricks that will streamline your Lightroom workflow while delivering very impressive photographs.
Last week, Panasonic announced the Lumix S1R II, a hybrid camera that packs the company’s typical emphasis on great video performance with something it hasn’t had in a long time: great photo capability.
Pattern Recognition Company announced the new Excire Foto Office Edition, an AI-driven digital asset management tool for businesses and teams with shared databases.
In photography, background removal is a key technique. Whether for commercial photography, e-commerce, or personal use, a clean, distraction-free background is essential. On platforms like Amazon, product images must have a pure white background to enhance product visibility. For personal photography, background removal is often used to create professional profile pictures or for artistic designs.
Sigma has been working on a new full-frame Foveon sensor for nearly a decade and speaking to PetaPixel last week ahead of the CP+ show in Yokohama, CEO Kazuto Yamaki explained that it was still in development but wouldn’t guarantee it would make it to market.
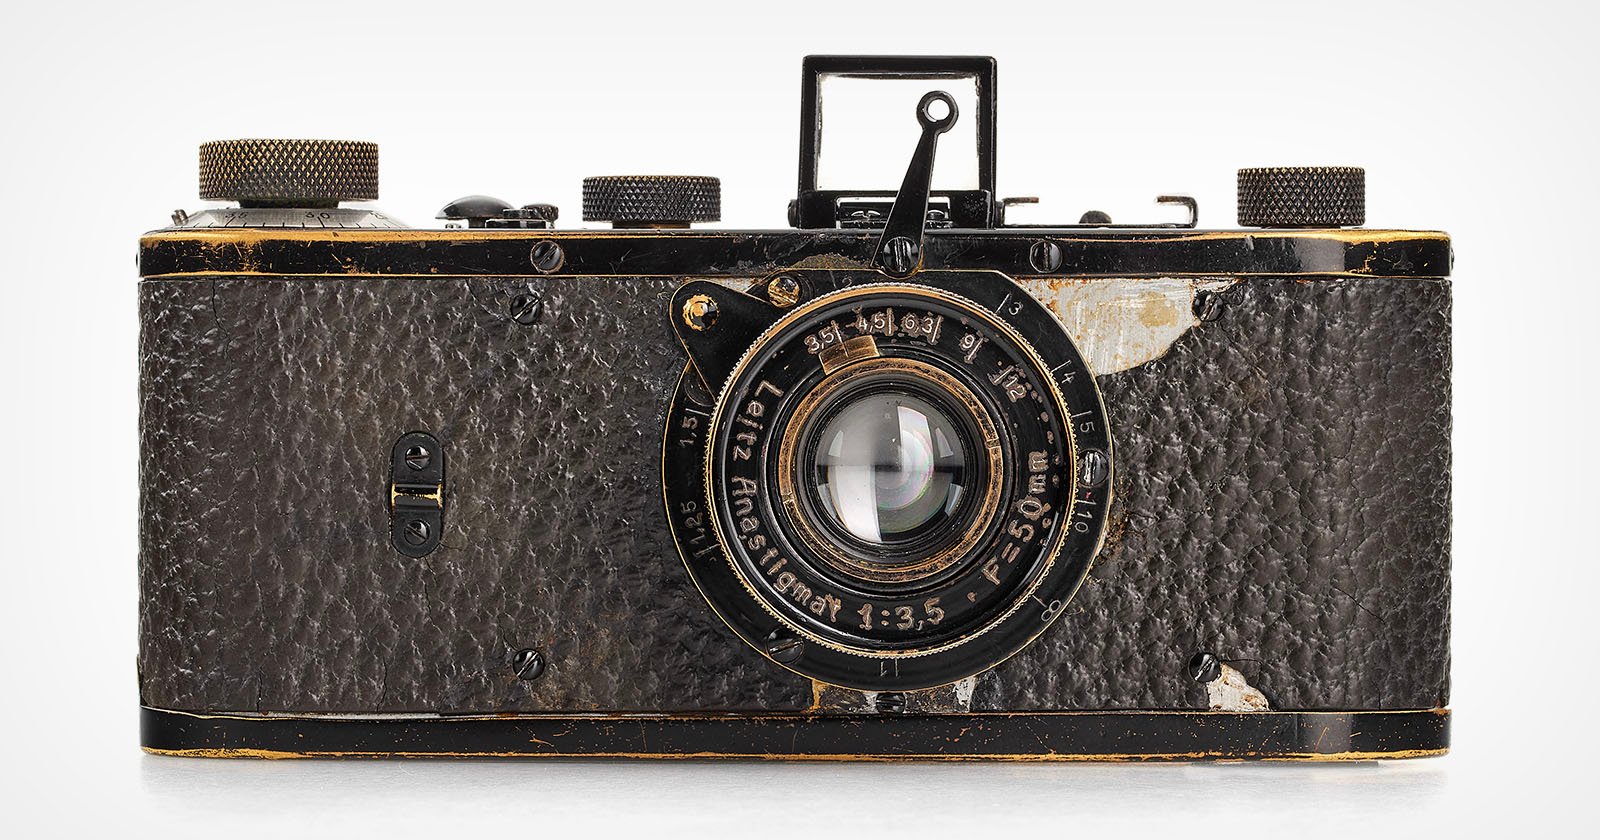
The groundbreaking Leica I 35mm camera turned 100 last week, and as part of the ongoing centennial celebration, Leica announced that one of the 0-series prototypes for the Leica I will be auctioned in June, and all signs point to the rare camera fetching millions of dollars.