Lightroom’s powerful Curves panel offers far more versatility than the limited global adjustments many photographers use to adjust the brightness and contrast of an image and balance out tonal values. These include selective enhancements for targeting and enhancing different areas within a scene.
Today’s eye-opening tutorial from Lightroom Color & Editing Mastery demonstrates how to boost the impact of an image by harnessing the power of Lightrooms RGB Curves to create a variety of stylistic effects that will make your images stand out while keeping thing looking natural.
The video below is designed for inexperienced users, so instructor Maarten Schrader presents his tips in a straightforward manner that anyone can accomplish in minutes. This way you can replicate a variety of appealing styles that strike your fancy without digging too far into the weeds.

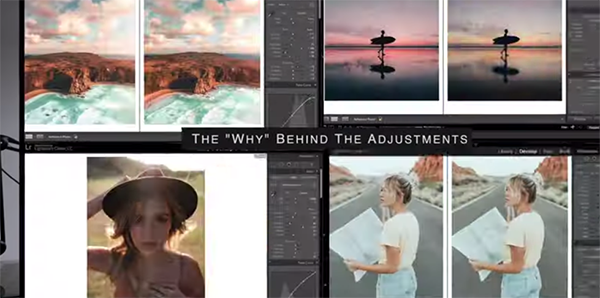
Schrader recommends approaching Curves “as a scientific tool” so that you can mimic the look of images you appreciate from others, and then develop personal styles as your skill and confidence grows. The trick is becoming familiar with the why as well as the how. Schrader helps gets you started with a selection of free Curves presets that you can access with a link in the description the video.
The first step is interpreting the graphic interface and Schrader begins with this: “The box represents every shade of your image, with dark tones on the left, bright values on the right, and everything else in between.” This preliminary knowledge is about as far as some photographers go, which means ignoring potential color enhancements and other local adjustments that are available for creating a recognizable style of your own.
It quickly becomes apparent that this isn’t a one-size-fits-all operation, and there’s plenty of room for experimentation. Schrader’s goal is to provide you with a firm understanding of the concept—with clear examples and the various options that are readily available. In short, it’s all about unlocking your inner creative vision.

There’s a lot more to learn on Schrader’s instructional channel, including the ramifications of color theory when shooting everything from environmental portraits, street scenes, landscapes and more.
Be sure not to miss another basic guide we featured recently that demonstrates why you shouldn’t underestimate several useful sliders in Lightroom’s Basic panel that many photographers overlook.