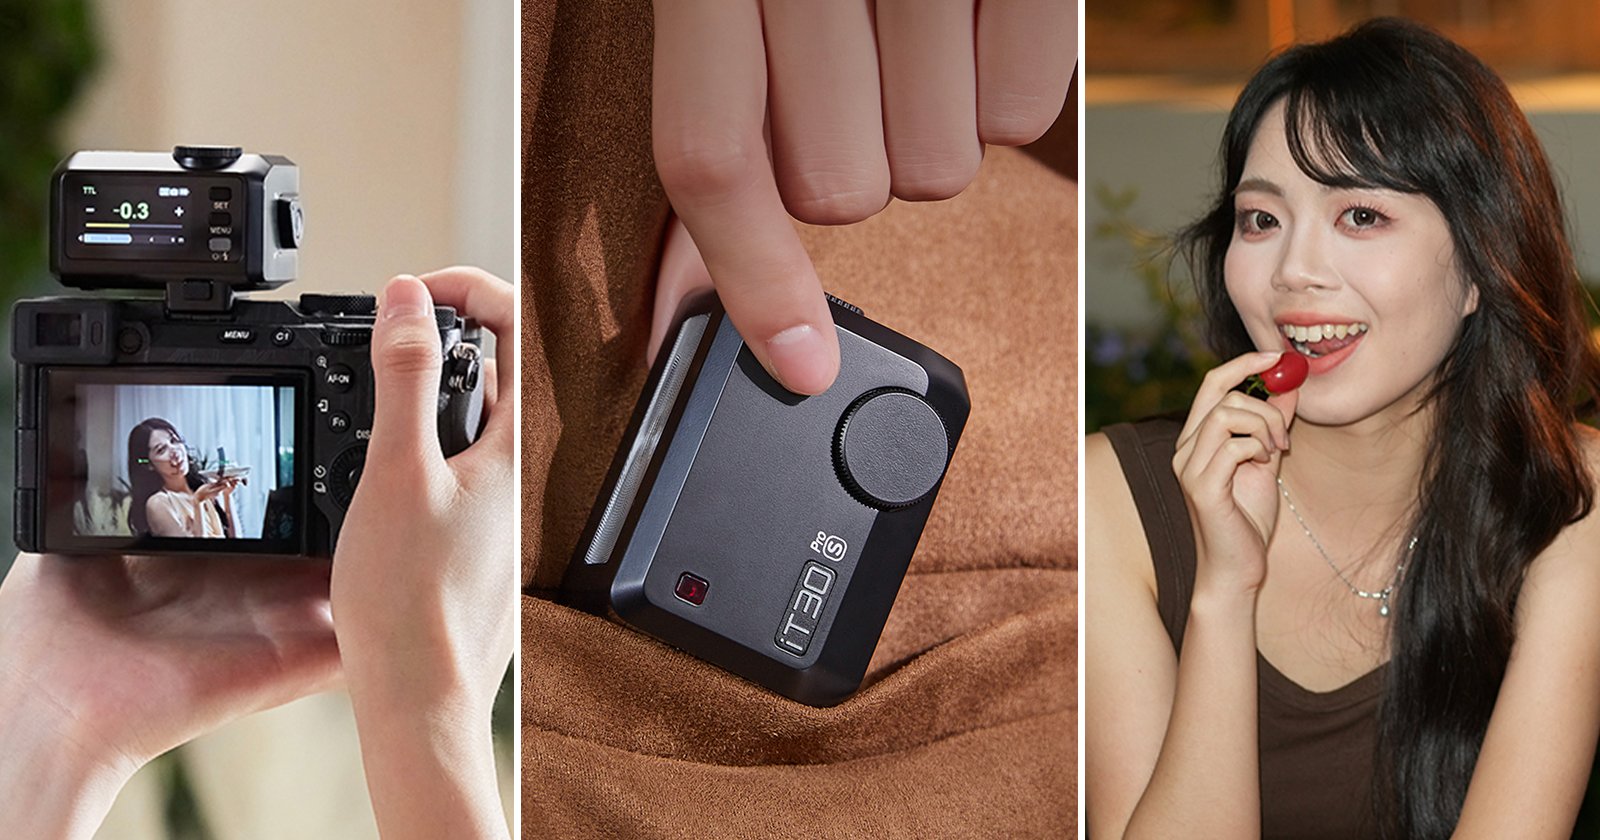
Godox announced its tiniest TTL flash yet, the iT30 Pro. Godox says its new pocket-sized delivers professional-grade results and can work as a flash sender, receiver, or trigger.

Godox announced its tiniest TTL flash yet, the iT30 Pro. Godox says its new pocket-sized delivers professional-grade results and can work as a flash sender, receiver, or trigger.
We’ve all had the misfortune of capturing a seemingly great image, only to realize later that the shot includes a distracting element, or we failed to notice someone walking through the frame. At this point, unfortunately, it’s often impossible to go back for a redo.
There are several ways to remove unwanted clutter, some more complicated and less effective than others. Today’s tutorial from the PHLOG Photography YouTube channel demonstrates how to get the job done to perfection with a few quick clicks in Lightroom.
Instructor Christian Mohrle is a highly respected German photographer and post-processing expert who you’ll recognize if you’re a regular Shutterbug reader. His goal for today is to remove two people standing in front of a church in the middle of a beautiful landscape scene with snowcapped peaks looming in the distance.

Mohrle quickly banishes the bystanders and then demonstrates a straightforward workflow for significantly enhancing the shot by applying several basic adjustments, a bit of masking, color grading and sharpening. We therefore suggest downloading his sample Raw file from the link beneath the video so you can follow along and do everything yourself.
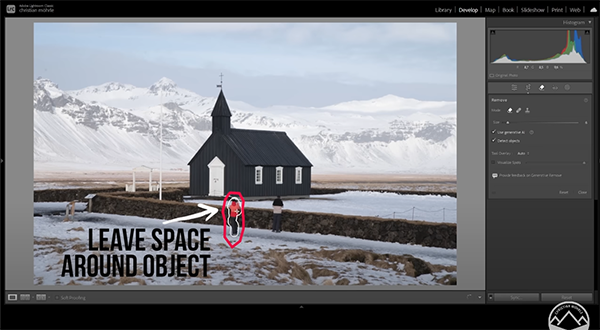
The first step is heading into Lightroom’s Remove tool panel that provides a number of options. Mohrle typically chooses the Healing Bruch do get rid of sensor spots and other small things, but his preference for more complex objects clicking on the Remove mode icon instead.
Once you’re in the Remove mode it’s important to select Generative AI “which will get rid of objects more easily.” Mohrle also activates Detect Objects. Then he chooses an appropriate brush size and paints roughly over the people to be eliminated. Mohrle notes that “it’s important to leave a little bit of room around an object, so there’s no need to be too precise.”

Then click on the Remove button on the right side of the workspace, and BOOM—after a brief wait the people are gone. Lightroom offers three different variations, so if you’re not satisfied with the first result try one or both of the others.
Mohrle now has a distraction-free image and it’s time to apply the global and selective enhancements mentioned above. It’s a reliable workflow that you can employ for processing a wide variety of outdoor images.
The popular PHLOG Photography YouTube channel is a great resource for everyone who shoots in the in the field. We also suggest watching a tutorial we featured recently with another post-processing expert who demonstrates seven overlooked Lightroom tools that will speed up your Lightroom workflow and enhance every image you edit.


OpenAI is targeting AI-powered hardware in a big way. The AI tech company is purchasing io, an AI device startup, for nearly $6.5 billion. The startup was co-founded by veteran Apple designer Jony Ive, who left the company to form a design outfit, LoveFrom, in 2019. It is OpenAI’s priciest acquisition yet.
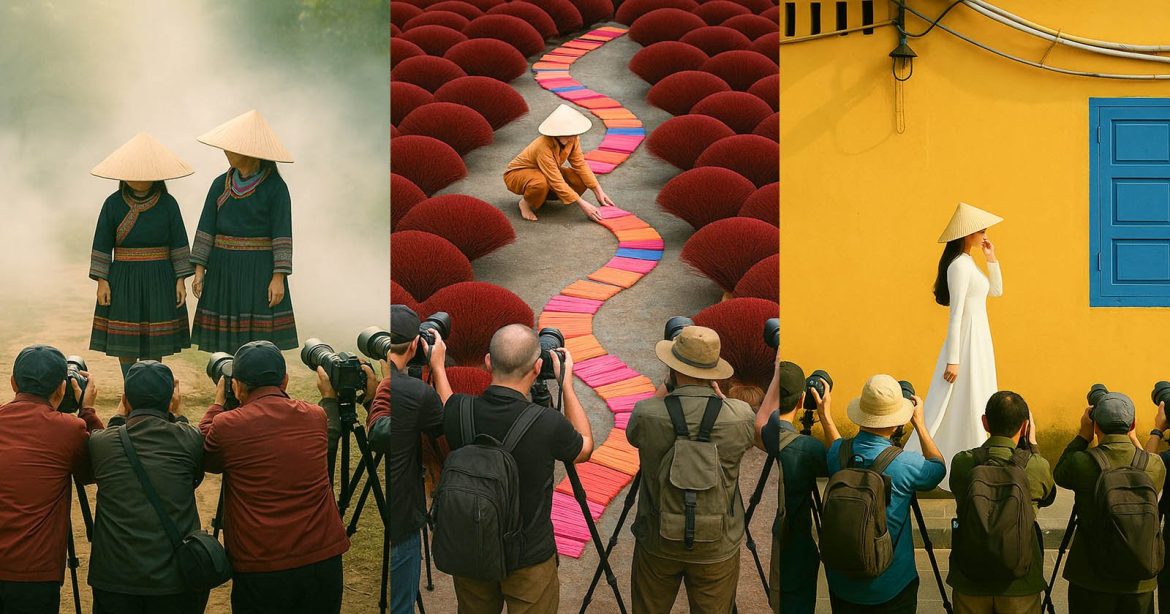

So… you’ve got a decent following on social media, and you’re looking to cash in? Want to travel for free, get all your expenses covered, and “grow” your portfolio without doing much? Do you want to run your own photography tour, which will make you shine like a famous and successful travel photographer?


As part of its myriad announcements at I/O 2025, Google unveiled significant changes to Search, including the ability to use AI to search for what a smartphone camera sees in real-time.
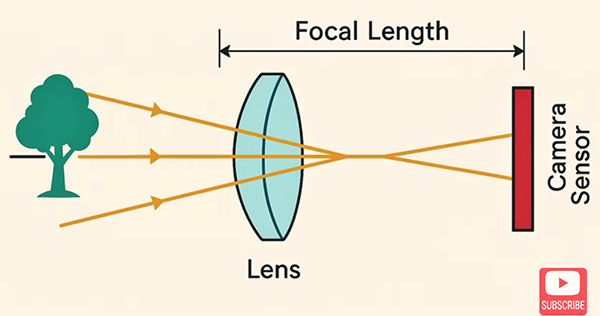
Focal length is one of the most essential concepts in photography, and a firm understanding of how it works is crucial when choosing the proper lens for a specific scene. Most photographers know that focal length determines the magnification of a subject within the frame, but there’s more to consider than this.
Today’s tutorial from the Hamed Photography YouTube channel will get you up to speed in barely four minutes so you’ll always reach for an appropriate lens based upon subject matter, prevailing light levels, and the specific mood or effect that you want to convey.
Hamed begins with a quick overview of the concept, explaining that “focal length is the distance (expressed in millimeters) between the optical center of a lens and the camera’s image sensor when the subject is in focus.” So it directly affects both angle of view (how much of a scene is captured), and magnification (how large individual elements will appear within the frame).

These considerations hold true whether you’re shooting with a prime lens or when selecting a specific focal on a zoom. As Hamed says, “a shorter focal length provides a wide angle of view and less magnification, while a longer focal gives a narrower angle of view with greater magnification.
But there’s still more to consider, which Hamed reveals by breaking down lenses into various categories. By his definition ultra-wide lenses range in focal length from 8-24mm and they’re often used for architecture, landscapes and interior photography. Their characteristics include strong perspective distortion—whereby the size of objects closer to the lens is exaggerated.
Conventional wide angle lenses (from 24-35mm), on the other hand, are ideal for street photography, travel, and environmental portraiture because they can capture a broad area
while maintaining a natural perspective. A standard 50mm lens in comparison has a field of view similar to what you see with your eyes and delivers a “balanced perspective” in which subjects appear natural and undistorted.

The discussion continues with a description of short telephotos (85-135mm), medium to long telephotos (135mm–300mm) and the “big guns” with focal lengths of 300mm and more that wildlife photographers use to isolate subjects at a distance. In every case Hamed explains the benefits and drawbacks, appropriate applications, and the characteristics you can expect to see in your imagery.
There’s much more to learn about gear and shooting techniques on the Hamed Photography You Tube channel.
And speaking of lenses, but sure to watch the recent tutorial we featured with another accomplished pro who demonstrates how he captures attention-grabbing photographs by using a few affordable lens filters when shooting landscapes, nature scenes, and wildlife subjects.
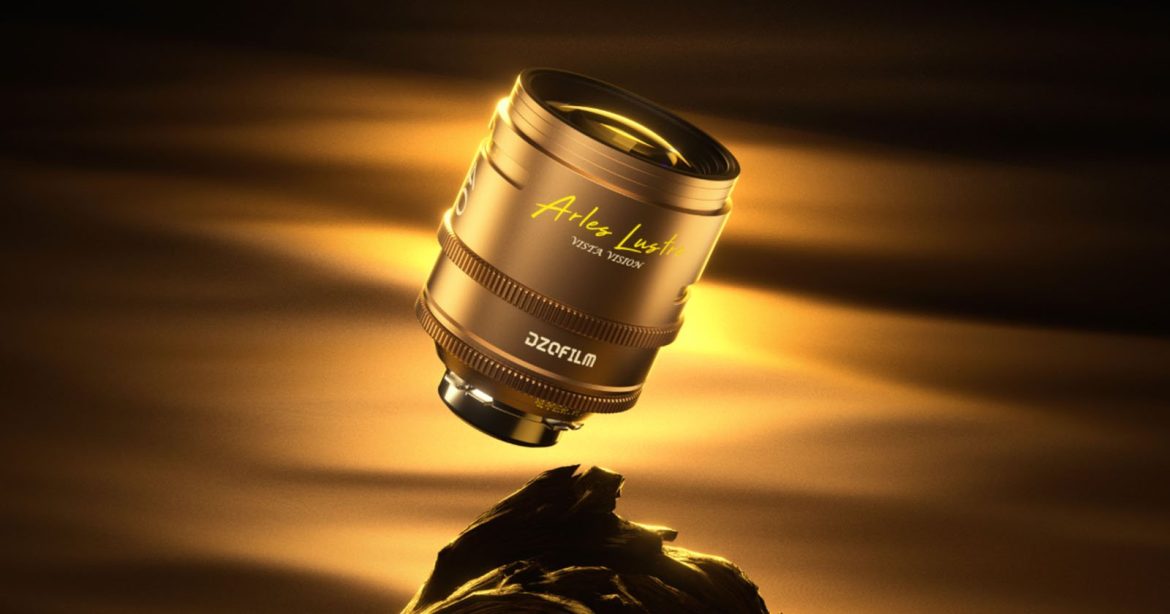

DZOFilm has unveiled an expansive new set of full-frame cinema prime lenses. The Arles Lustre Cinema Prime series features 10 lenses with apertures ranging from T1.6 to T2.8, and all of them cover a large-format image sensor.


Astronaut Don Pettit has shared a fascinating view of what Starlink satellites look like from onboard the International Space Station (ISS).
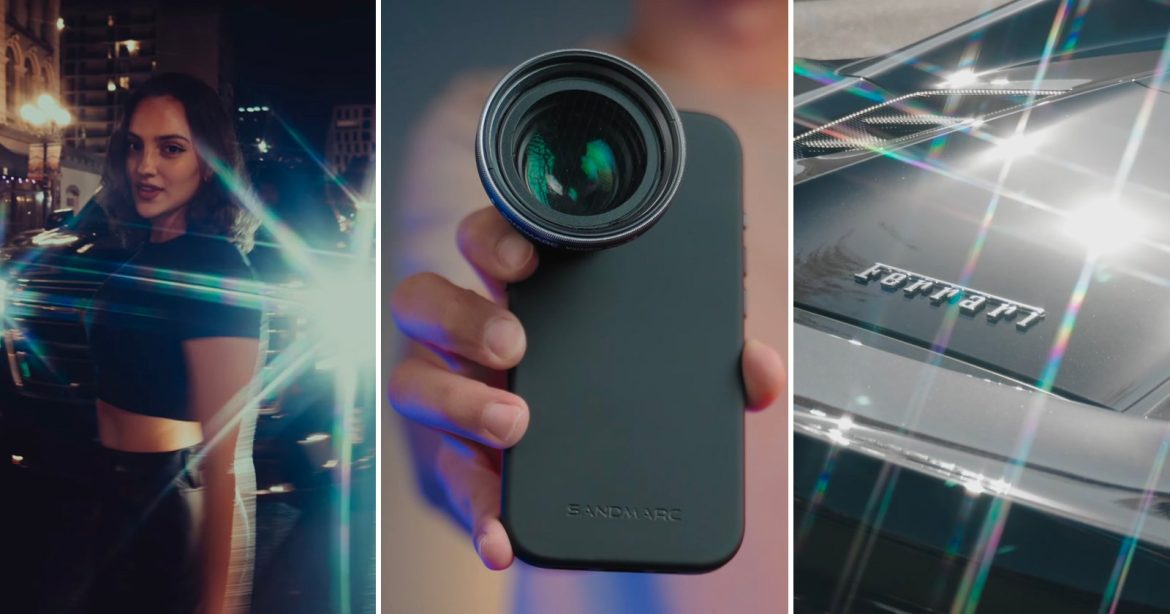

San Diego-based camera accessory manufacturer Sandmarc’s newest product is a fun variable Star Filter for iPhone.

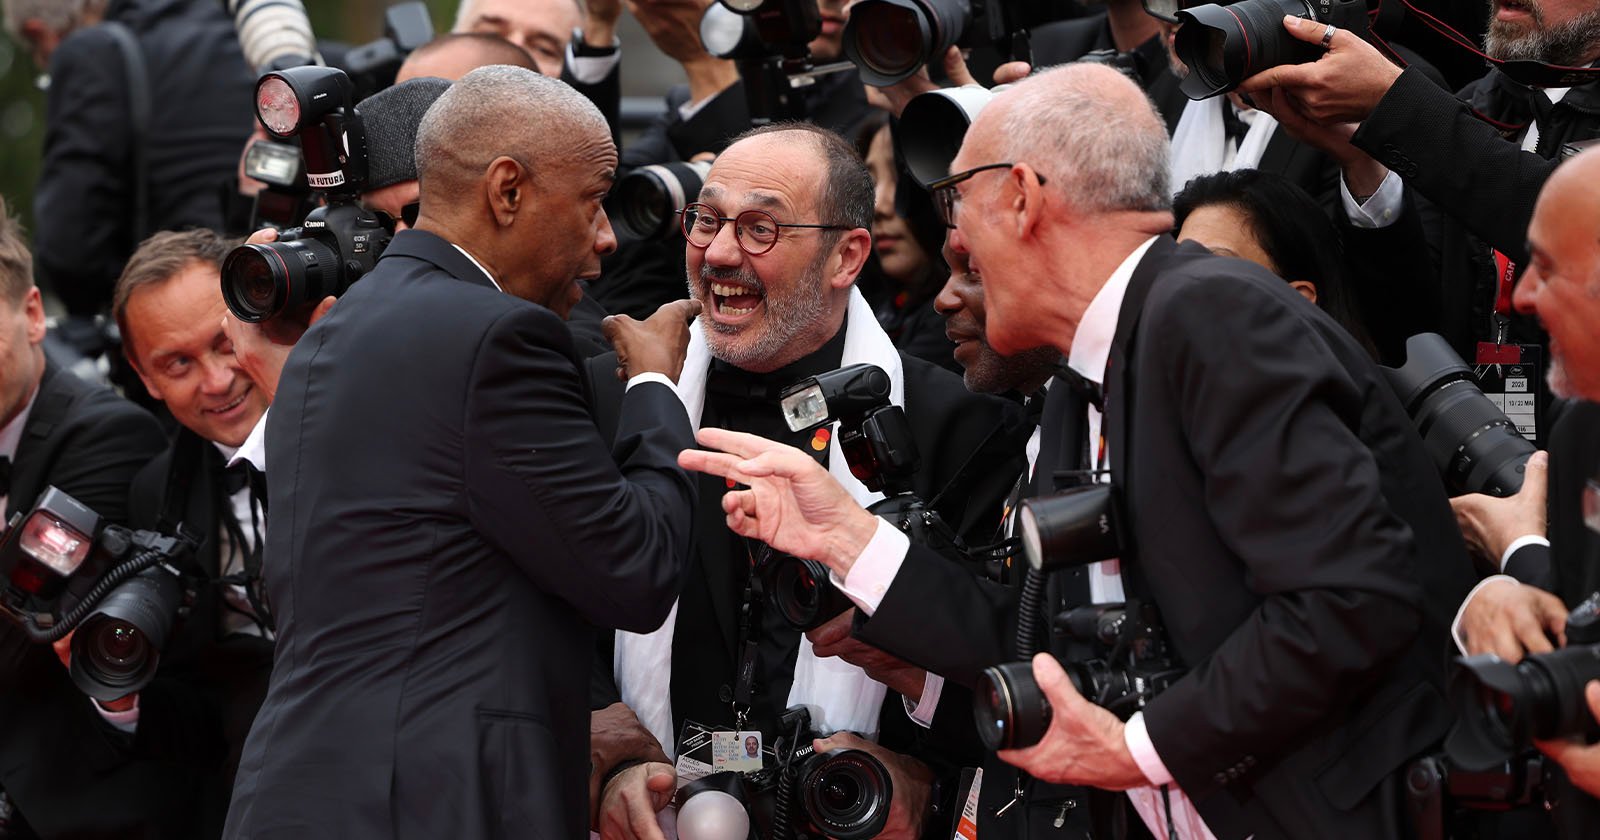
After a photographer provoked the ire of Denzel Washington on the Cannes Red Carpet, many criticized the photographer. But the truth is that kind of environment is a cutthroat, dog-eat-dog world and because I have experienced it, I understand the photographer’s perspective.