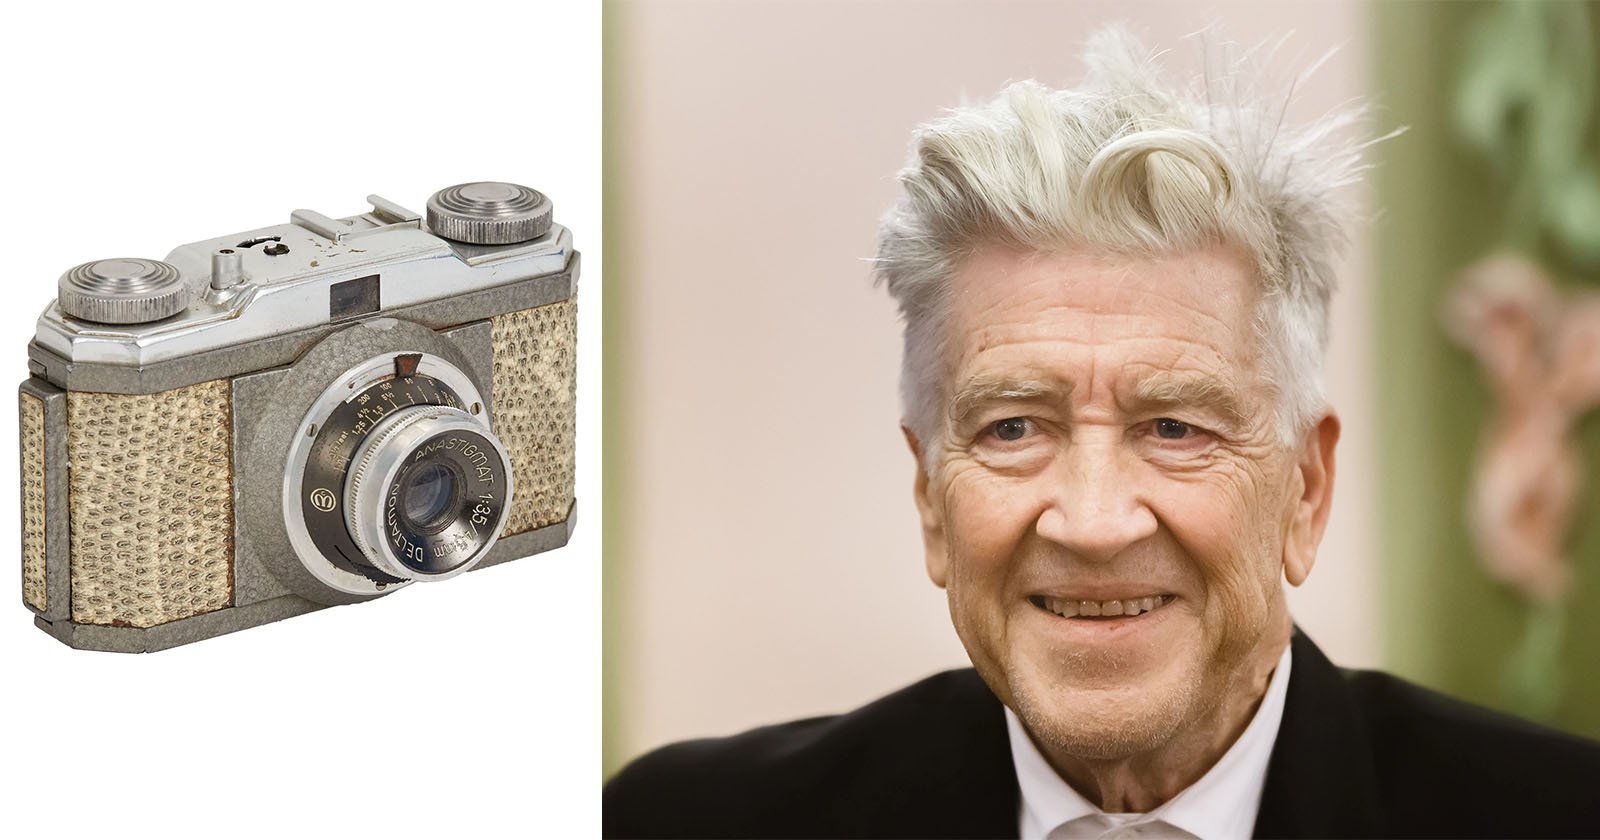
When acclaimed director David Lynch passed away earlier this year, he left behind not only a filmmaking legacy, but one that dramatically impacted photographers. Now David Lynch fans can purchase hundreds of his items, including cameras, an espresso machine, screenplays, and much more.
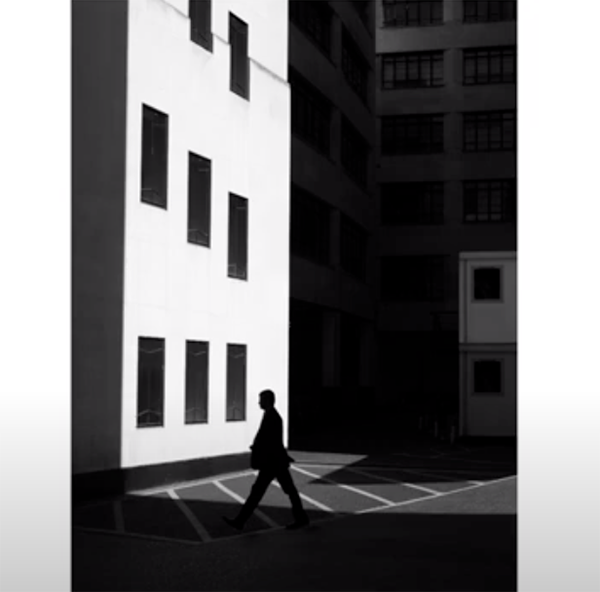
Capturing a subject in silhouette is one of the most dramatic ways to shoot compelling images, especially if you’re working in b&w. Today’s tutorial from the New Ways of Seeing YouTube channel demonstrates everything you need to know for achieving this powerful effect.
Instructor Rupert Vandervell is an accomplished British fine art photographer and a very popular educator who isn’t afraid to take an unexpected approach. This episode is designed with street photographers in mind, but much of what you’ll learn is equally applicable for capturing all sorts of images in the field.
Rupert puts it like this: “The balance of light and dark is very important in photography, and no more so than in the high-contrast fine art style. Light and shade are the very building blocks of this kind of imagery and shooting in black and white is the perfect way to show off the look as the tonal ranges can be pushed to the extreme.”
As you’ll see, the human shape can be quite fascinating when viewed in silhouette,” and so are other easily identified subjects or objects. Rupert notes further that recognizable forms can be even more powerful when combined with geometric shapes within the frame. There are also several composition techniques you can employ to heighten the result.
It’s also important to give subjects a prominent place against the backdrop. And when it comes to shooting on the street, he recommends looking for people wearing hats, flowing coats, carrying bags, or even interesting hair styles that add a unique twist to their shape.
Rupert notes that, “the way a person walks or their standing pose looks quite exaggerated (in an eye-catching way) when seen in silhouette and create the kind of character that will make an image have a real stand-out quality.” One way to do this is by anticipating a subject’s movements so that you’re prepared to capture the key moment before it occurs.
This is just a small taste of the helpful advice that Rupert provides, and by the time the video concludes you’ll be ready to expand your vision and give these technique a try. There’s much more to learn on the New Ways of Seeing YouTube channel, so pay a visit when you have time to explore.
In February, B&H Photo announced that it would bring the Bild Expo back to the Javits Center in New York City on June 17 and 18. It’s just around the corner, and B&H has shared much more information about the expo, including the experiences that attendees can expect in a few weeks.
One key step in becoming a better Photographer is learning how to evaluate a scene and then make the most of whatever lighting conditions you confront. You may think that these means concentrating on the intensity of Light, but this tutorial from the Nifty Fifty Photographers YouTube channel demonstrates another consideration that’s equally important consider.
Instructor Richard Gill is a successful British pro who leverages his skills to produce straightforward how-to videos on a wide range of photography fundamentals. He introduces today’s five-minute episode like this: “The direction of light can have a huge impact on your photos, and you’ll find out how to use side-lighting, rim light and more to make your images pop—and avoid flat, lifeless photos.”
Consider this five-minute lesson “Lighting 101” as Gill demonstrates how the position of the sun, camera angle and perspective, and the vantage point you take make all the difference in the photographs you bring home. These techniques are explained in the context of landscape photography, but they’re equally powerful for whatever outdoor images you make.
Gill’s tips and techniques are super easy to understand while watching him illustrate exactly how they work. So we’re going to step back for a change and let the expert get you up to speed in a hurry. Then head over to his instructional YouTube channel where you’ll find many more simple tips and techniques.
And on a related note, be sure to check out a tutorial we featured earlier this week in which a notable German shooter demonstrates how to employ depth, balance, lines and perspective to compose outdoor photographs like a pro.
This week on The PetaPixel Podcast, the team sits down together in La Serena, Chile to talk about Sony’s FX2 announcement and what it might mean for the company’s next camera.
The Fujifilm events are coming fast and furious. Less than a month after debuting the X half compact camera, Fujifilm is gearing up to unveil more new gear at a June 12th X Summit in Shanghai.
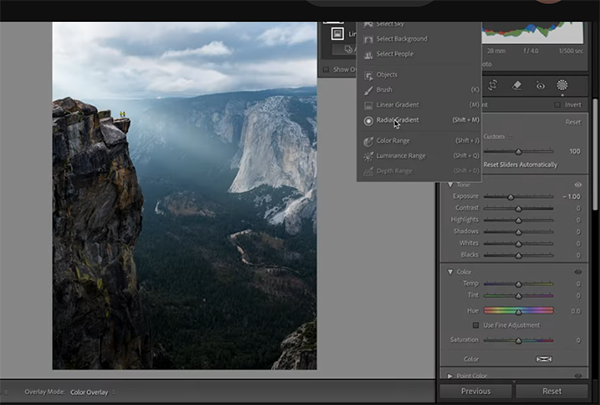
The task of editing landscape photos is typically challenging because we often shoot in complicated situations, like when pointing the camera directly into the light at sunrise or sunset. Then there are those confusing scenes with bright highlights, dark shadows, and important midtones within the frame.
If these dilemmas sound familiar pay close attention to this quick tutorial from the Photo Feaver YouTube channel that provides three post-processing solutions for overcoming these common challenges. Instructor James is a British pro who says he loves helping beginner photographers improve their shooting and editing skills.
Feaver says that in the next eight minutes you’ll learn “the three best landscape photography tricks” in Lightroom. His promise goes even further by suggesting that one of this tips is so good that it’s like cheating. He also jokes that “it might even cause your computer to explode.”
At the top of his list is a trick Feaver calls Photo Contrast and it differs significantly from Lightroom’s familiar Contrast slider or other more advanced techniques. Feaver pays close attention to highlights and shadows while demonstrating this masking method for perfect adjustments.
Tip #2 works wonders when you want to convert a ho-hum color shot into a jaw-dropping b&w image. He refers to this tip as Hidden Profiles. Some photographers simply click the B&W button in Lightroom’s Basic panel. Unfortunately, unlike Feaver’s easy-and-effective solution, this approach may be simple but it often delivers mediocre results.
Last on the list is the one you’ve been waiting because Feaver admits it’s “sort of like cheating and I frequently do it myself.” We don’t want to spoil the surprise, so watch this video until the end. Then update your Lightroom workflow accordingly.If you enjoyed this lesson and appreciate Feaver’s straightforward style, be sure to check out his instructional YouTube channel where’s much more of the same.