Tourists have been blocked from a popular clifftop in Spain, that has become a famed selfie spot, by local protesters.
This is What it’s Like to be the NY Jets Photographer on NFL Game Day
The New York Jets have released a video showing what it is like for their photographer Sarah Snyder to cover an all-action NFL game day.
Create Outdoor Photos with a Soft, Beautiful Glow: 5 Easy Steps (VIDEO)
One post-processing technique that has surged in popularity among landscape photographers is the so called “Orton Effect.” Sometimes it’s overdone, but when applied correctly you’ll love the creative, dreamy look that you achieve.
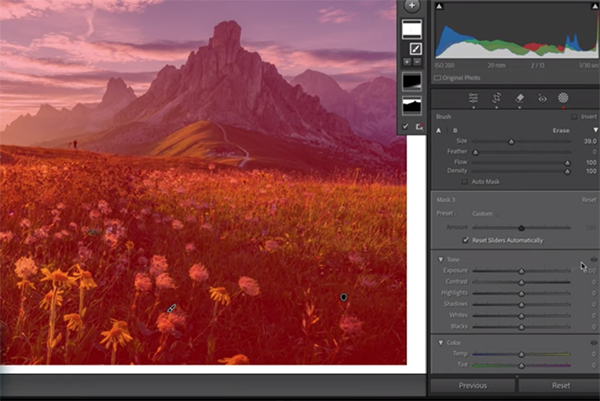
What’s different about this tutorial from Lachlan Garutti (AKA Locki Gee) is that he demonstrates how to quickly create an impressive Orton Effect in Lightroom, rather than using the more common Photoshop approach. He explains everything you need to know in less than six minutes, after which you’ll want to update your everyday image-editing workflow accordingly.
Australia-born Garutti is so committed to his craft that he currently resides in a van with his cameras while traveling throughout Europe. He specializes in nature, adventure and travel photography and is very fond of imbuing images with an eye-catching glow. It’s a straightforward five-step process than anyone can master in minutes, and Garutti explains how to save the effect as a preset for future use.

Garutti’s goal is to add an Orton Glow to the highlight areas in today’s demonstration photo. It’s a beautiful alpine scene in the Dolomite mountains that’s nicely composed but the light isn’t quite right. So watch the magical transformation that occurs when he applies a soft, warm, comforting glow.
The first step is somewhat unusual and involves covering the entire image with a single mask. There are a variety of ways to make this selection and Garutti demonstrates why the Brush tool approach is preferable to others for this particular task. He also explains the most appropriate settings which include a Brush size of 100%, lowering the Feather to zero, and cranking up Flow and Density to 100%.
Now it’s time to add a signature glow that makes the Orton Effect so popular. You’ll learn how to set overall exposure, highlights, and contrast. Garutti explains that, “we don’t want to blow out the entirety of the image, we just want them to glow with no clipping in the whites.” By doing this you can achieve a subtle brightness that doesn’t overwhelm the shot.

At this point the image looks pretty great, but there are three more important steps that refine the effect for a spectacular result, so be sure to hang in there until the end. Then pay a visit to Garutti’s instructional YouTube channel where you’ll find more shooting and image-editing lessons.
We also recommend watching a tutorial we featured recently with another Adobe expert who clarifies the difference between Lightroom’s “two most important color-grading tools” and demonstrates when and how one works better than the other.
400 Hollywood Stars Warn Trump Not to Let AI Companies Exploit Copyright Laws
Over 400 Hollywood creative leaders wrote an open letter urging the U.S. government to stop companies like Open AI and Google from weakening copyright rules.
Peter McKinnon Says It’s Time to ‘Let Go’ of Instagram
Instagram has changed a great deal in the last 15 years and, as has been well-documented, it has moved away from being a photo-sharing platform to one that looks a lot more like TikTok.
Sirui Becomes Ninth Member of the L-Mount Alliance
Sirui is the ninth company to join the L-Mount Alliance and will release a wide range of photo and video-oriented lenses for L-Mount cameras.
Wildlife Photographer Says Death of Mother Cougar Was Illegal
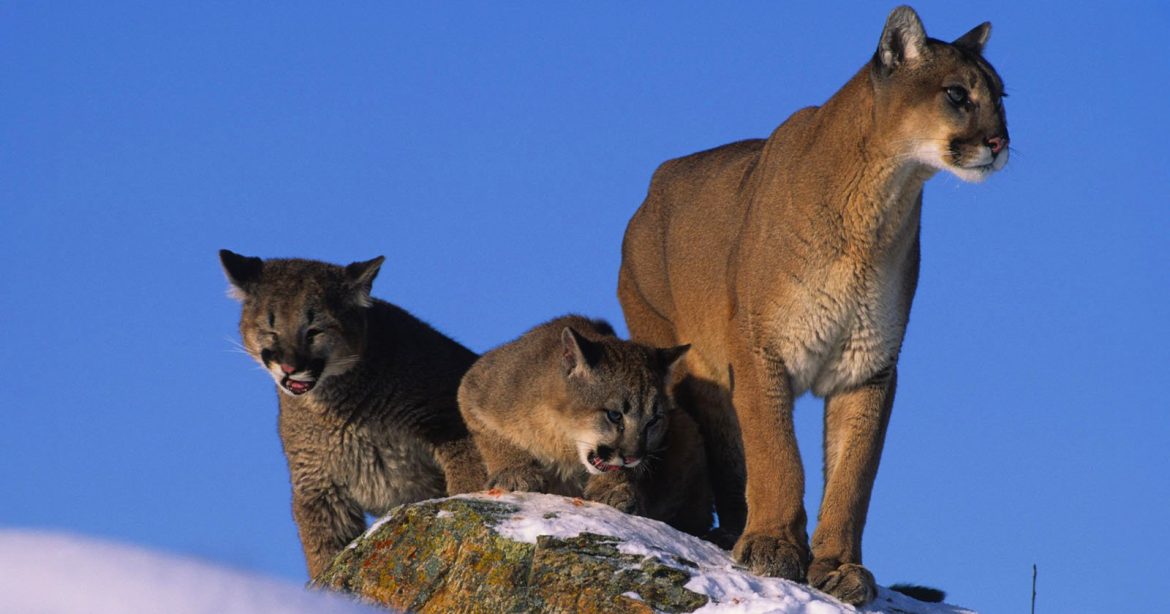
A nature photographer is taking the fight to Canadian authorities over what he calls an unlawful killing of a cougar that left her two cubs orphaned.
Canon Teases Pair of ‘V’ Cameras
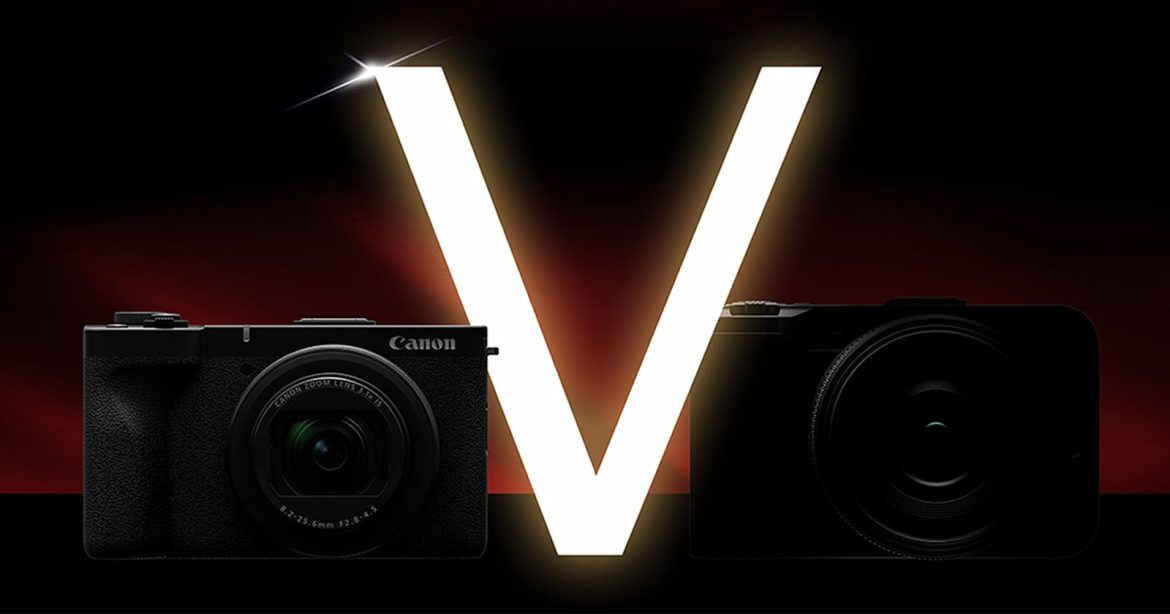
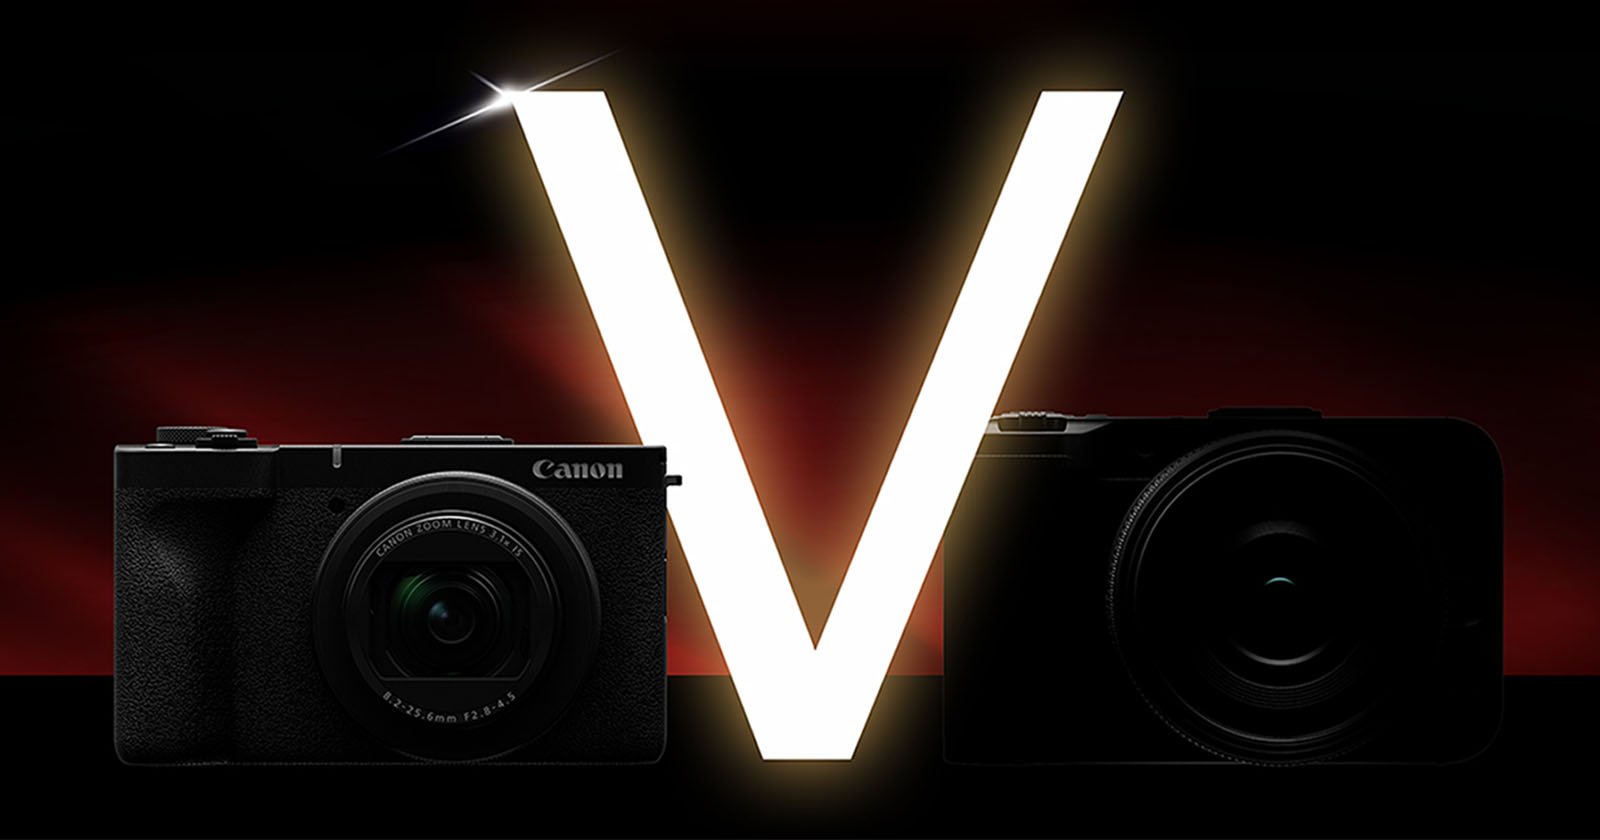
It’s turning out to be a surprisingly busy March for new camera announcements. In addition to Sony teasing a new full-frame cinema camera and Fujifilm debuting the GFX100RF, Canon is teasing a pair of new cameras, too.
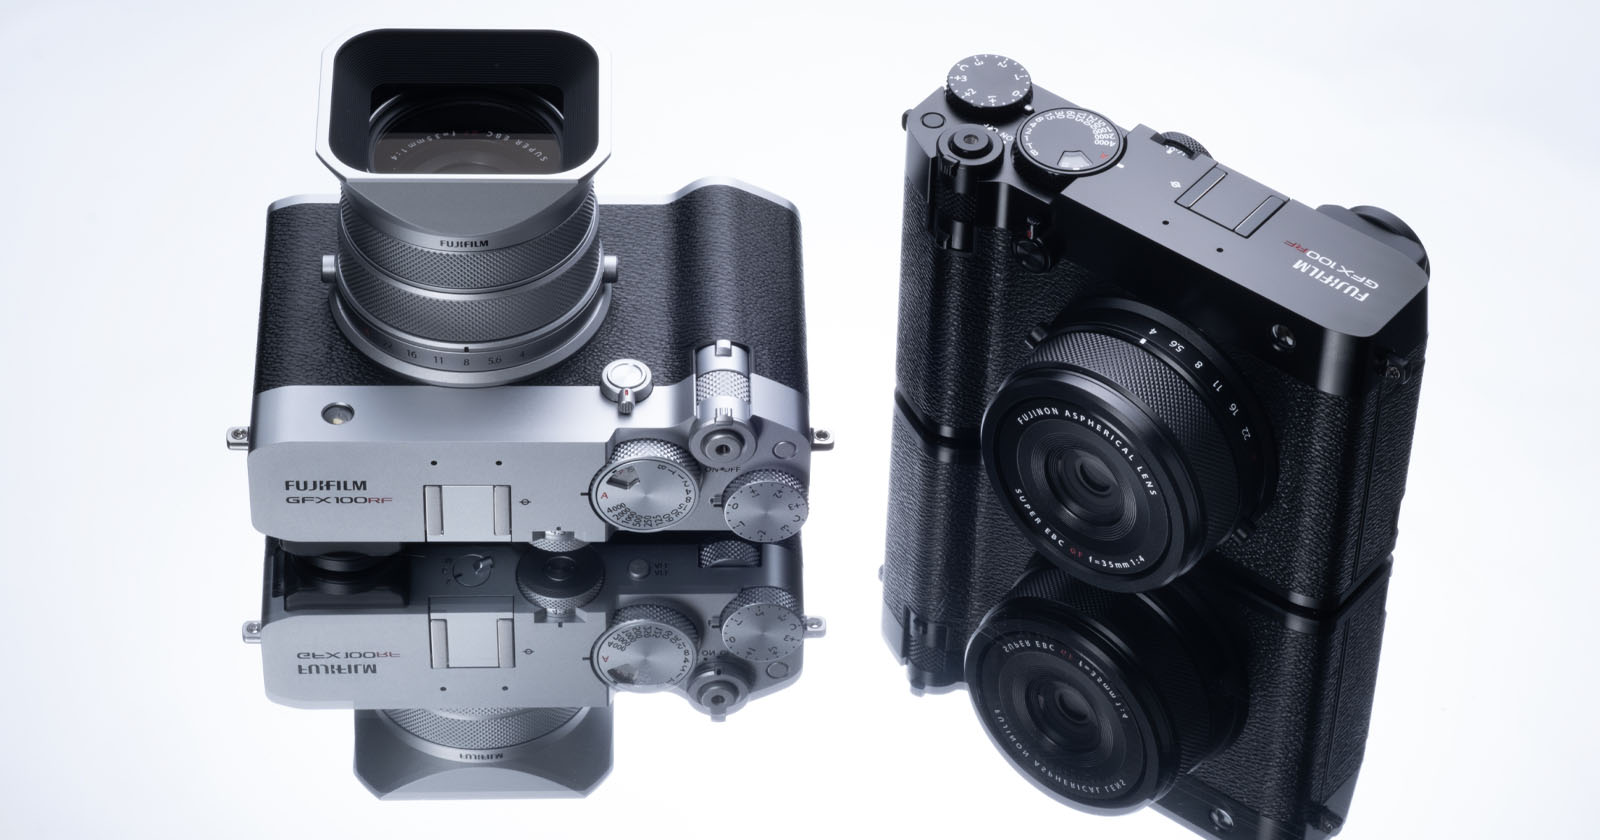
Fujifilm GFX100RF Review: An X100 All Grown Up
Fujifilm’s GFX medium format camera line features versatile and relatively affordable cameras in an industry normally dominated by prestigious names like Phase One or Hasselblad. However, Fujifilm also makes the insanely popular X100 series of cameras which make for a perfect compact companion to the traveling urban photographer. So what would happen if you combined the over-your-shoulder convenience of the X100 with the raw image quality of the GFX? The answer is the GFX100RF.
The GFX100RF is a Medium Format Fixed-Lens Rangefinder-Style Camera
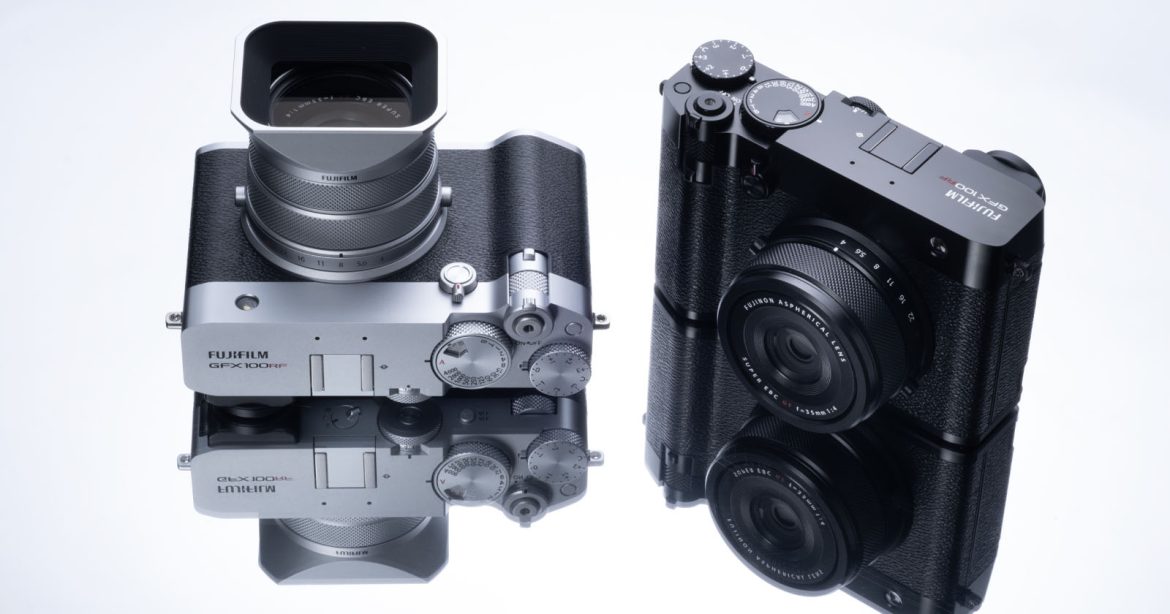
Fujifilm announced the GFX100RF, the company’s first fixed-lens mirrorless digital camera in its GFX system which features a 28mm f/4 full-frame equivalent lens in front of a medium format 102-megapixel sensor.


