
A unanimous federal appeals court ruled that pictures generated solely by machines do not qualify for copyright protection.

A unanimous federal appeals court ruled that pictures generated solely by machines do not qualify for copyright protection.
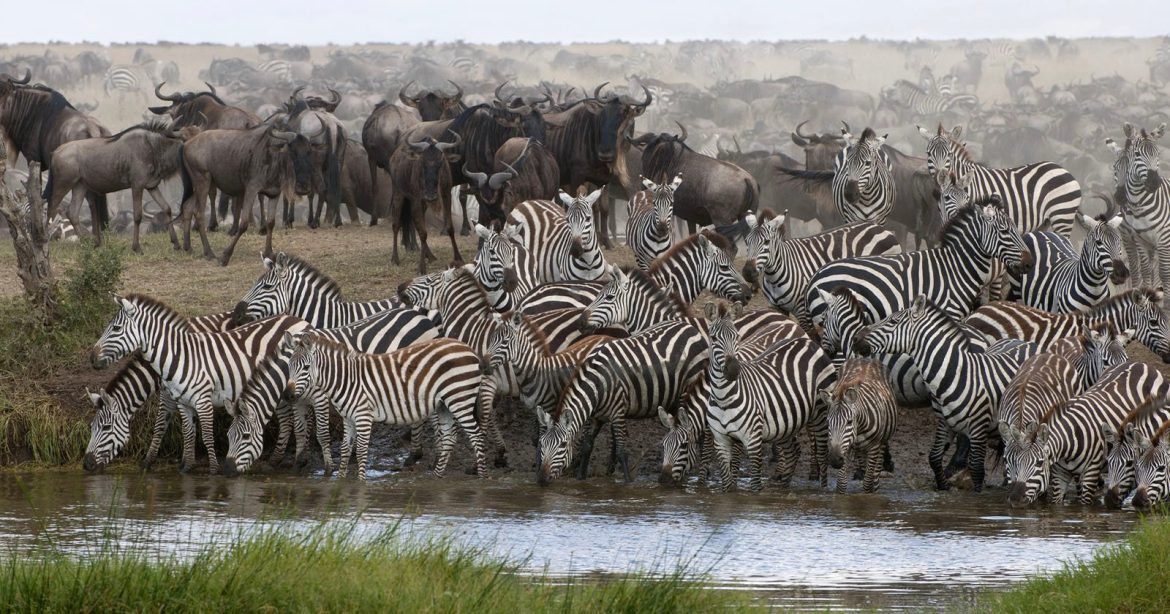
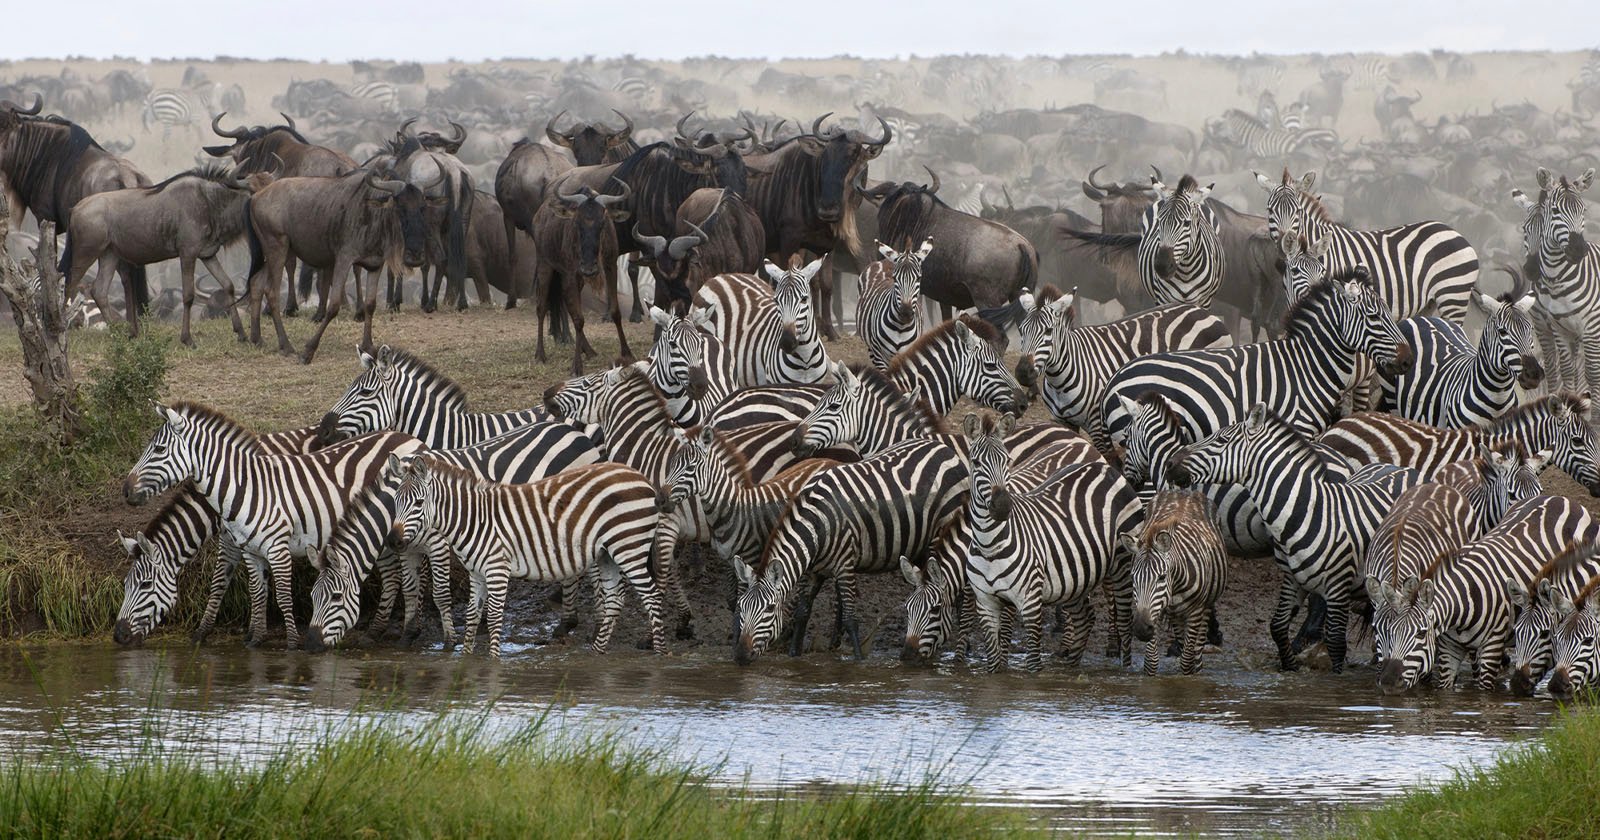
Hidden cameras secreted by researchers at watering holes in Africa have found that wild animals change their behavior according to when people are around.
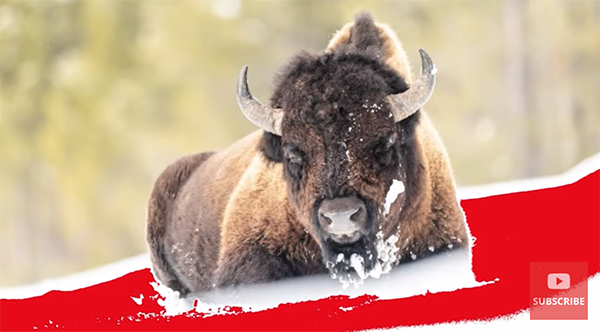
The eye-opening tutorial below begins with a question from instructor Simon d’Entremont: “Do you find that some of your photos aren’t as good as you hoped, but you’re unsure exactly what’s wrong?” Maybe they’re blurry, lacking in detail, unsharp, or simply uninteresting. We’ve all faced this dilemma at one time or another, regardless of our skills.
According to Simon, a Canadian pro and Canon Ambassador, the culprit may be your failure to understand the top five beginner mistakes that photographers make, and he admits to being guilty of these mistakes himself. In fact, we all get things wrong on occasion, but the trick is learning the errors of your ways and not making the same mistake more than once.
Overexposed highlights are at the top of Simon’s list and show up in your photos as pure white areas that are completely devoid of detail; otherwise referred as “blown out.” Simon explains that this occurs “because your camera photosites (the light-collecting elements on a sensor) are exposed with so much light that they’re over full beyond the maximum amount of photons they can capture.”

Unfortunately, there’s no way to recover this lost detail, and if you try dropping exposure during post processing you simply get a darker white—a “solution” that’s not really a solution at all. The moral of the story is this: it’s essential to use correct camera settings to “expose whites that appear white but stop short of being blown out.” It’s easy to do this by following Simon’s advice.
Another major issue is inaccurate focus acquisition. Or as Simon says, “part of the image may be in focus, but it’s not the main subject of the photo.” As you’ll see, this may or may not be your fault because many older cameras don’t have sophisticated subject-tracking capabilities, eye-detection, or other modern features that help lock onto a subject with speed and precision. But once again, there are several things you can do with whatever camera you own.
The lesson continues with three more image-killing mistakes and effective solutions. One involves careless camera movement, another is failing to understand the limitations of certain lighting scenarios, and the third occurs due to a lack of effort in choosing the best angle from which to shoot.

There’s a lot more to learn about shooting and processing wildlife, nature, and landscape photographs on Simon’s instructional YouTube channel.
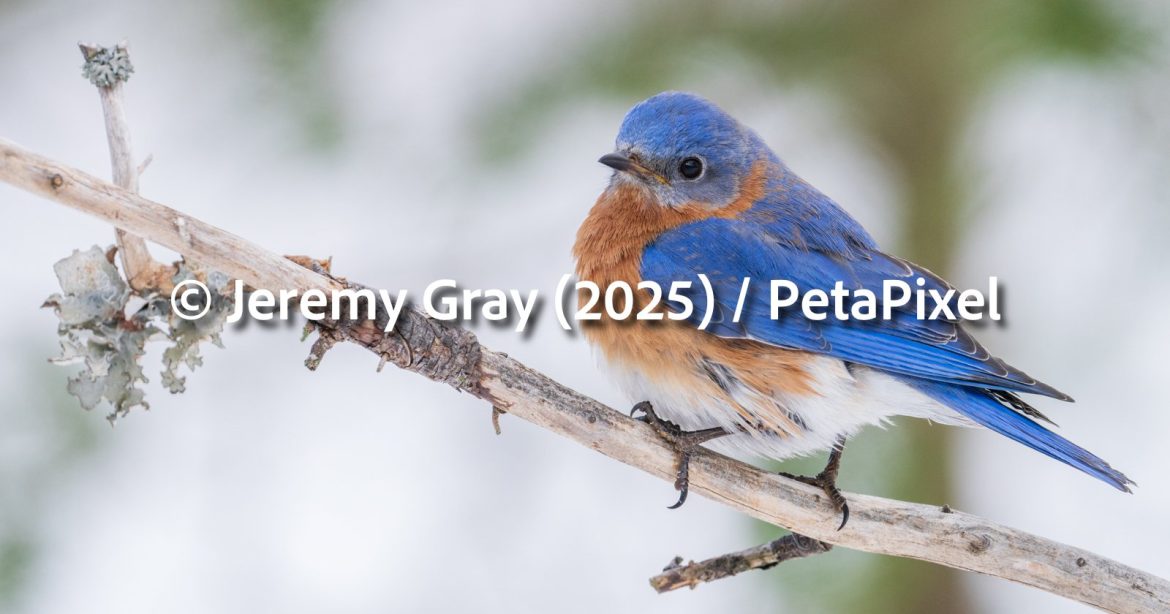
And be sure to watch the earlier tutorial we featured with an accomplished Australian pro who demonstrates several straightforward secrets for capturing stunning high-key bird photographs with a unique, minimalist look.

In a concerning development, people have been using a new AI model released by Google to remove watermarks from photos.
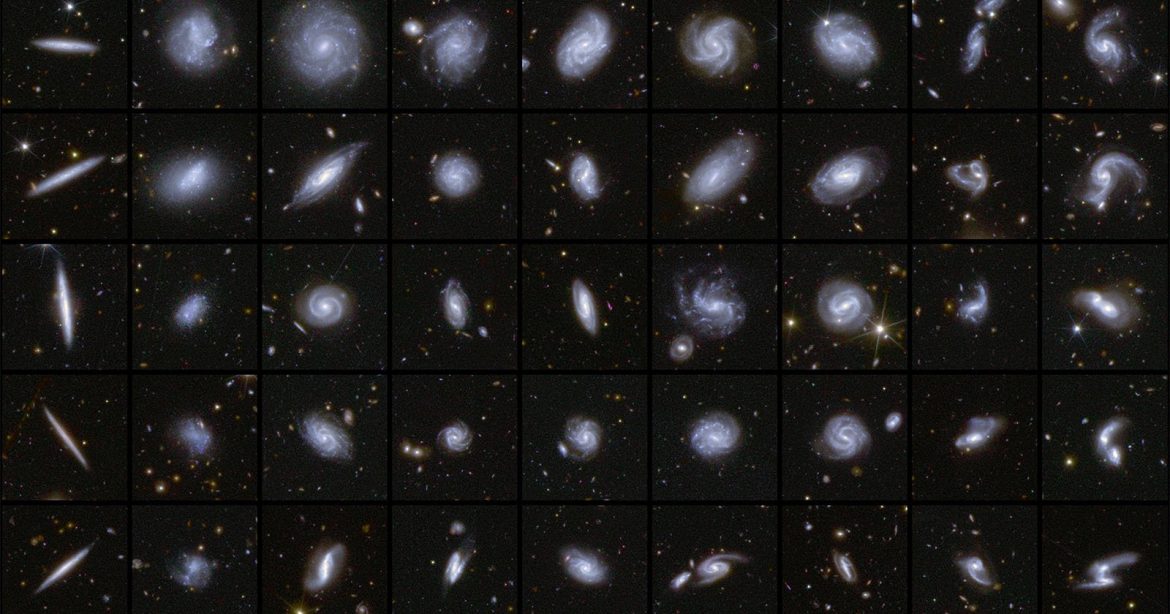

The first survey data from the 600-megapixel Euclid space telescope is available now. The European Space Agency (ESA)’s data release features classified, detailed images of 380,000 galaxies and provide a look at the large-scale organization of the Universe’s cosmic web. Euclid observed 26 million galaxies in total in just one week.
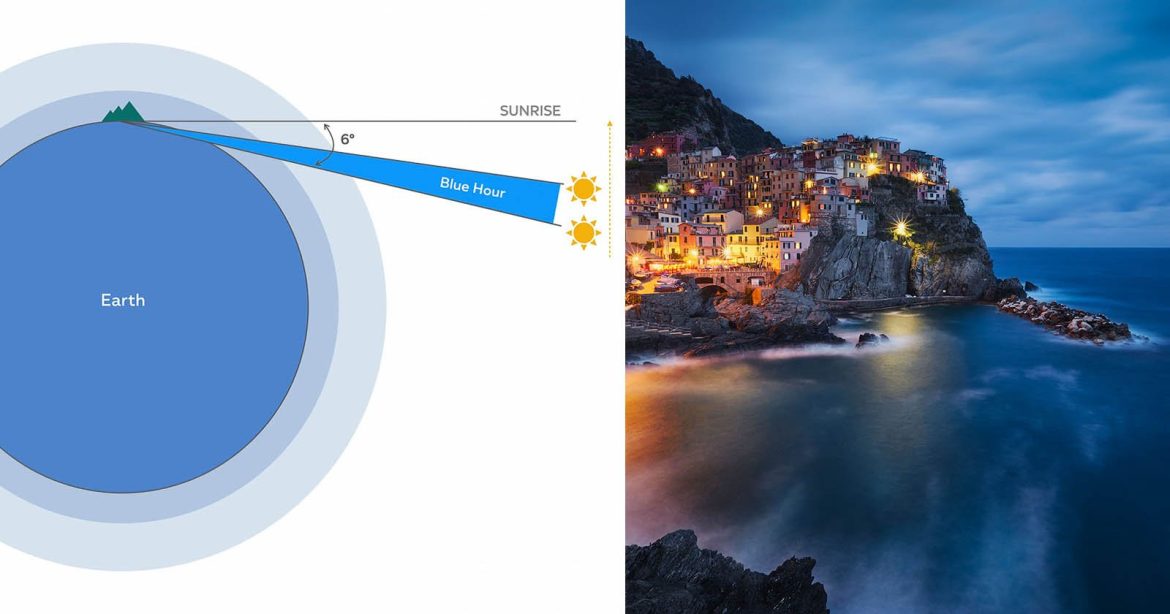

The difference between a good landscape photo and an extraordinary one often comes down to one thing: Light. And there’s a magical window of time, called the Blue Hour, that offers some of the most atmospheric, cinematic light in landscape photography. However, many photographers overlook or struggle to fully capture its unique potential.
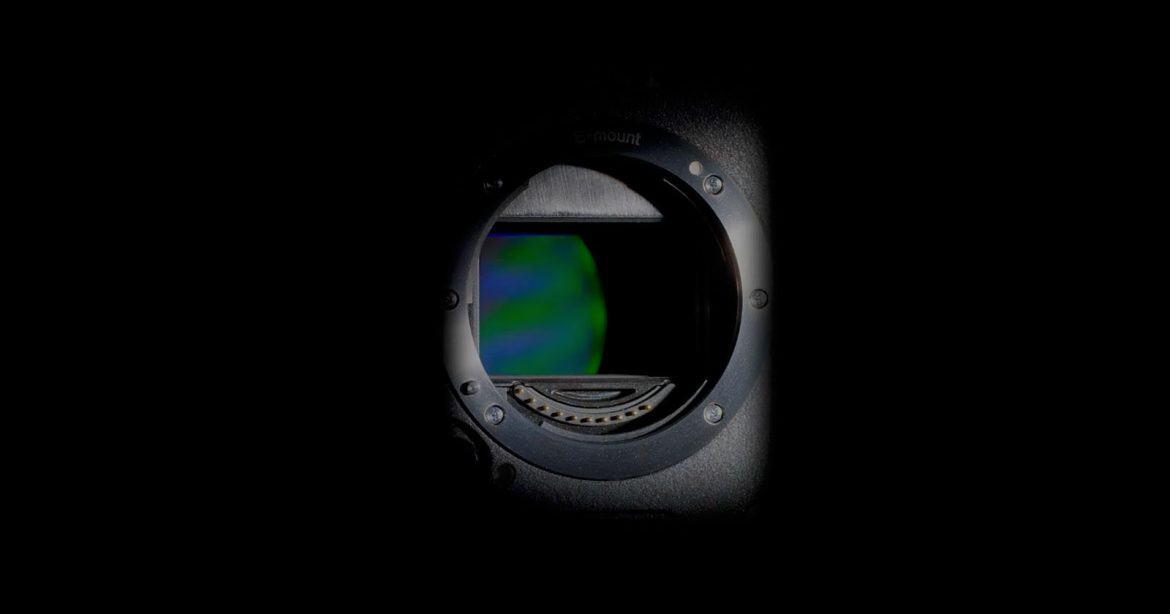
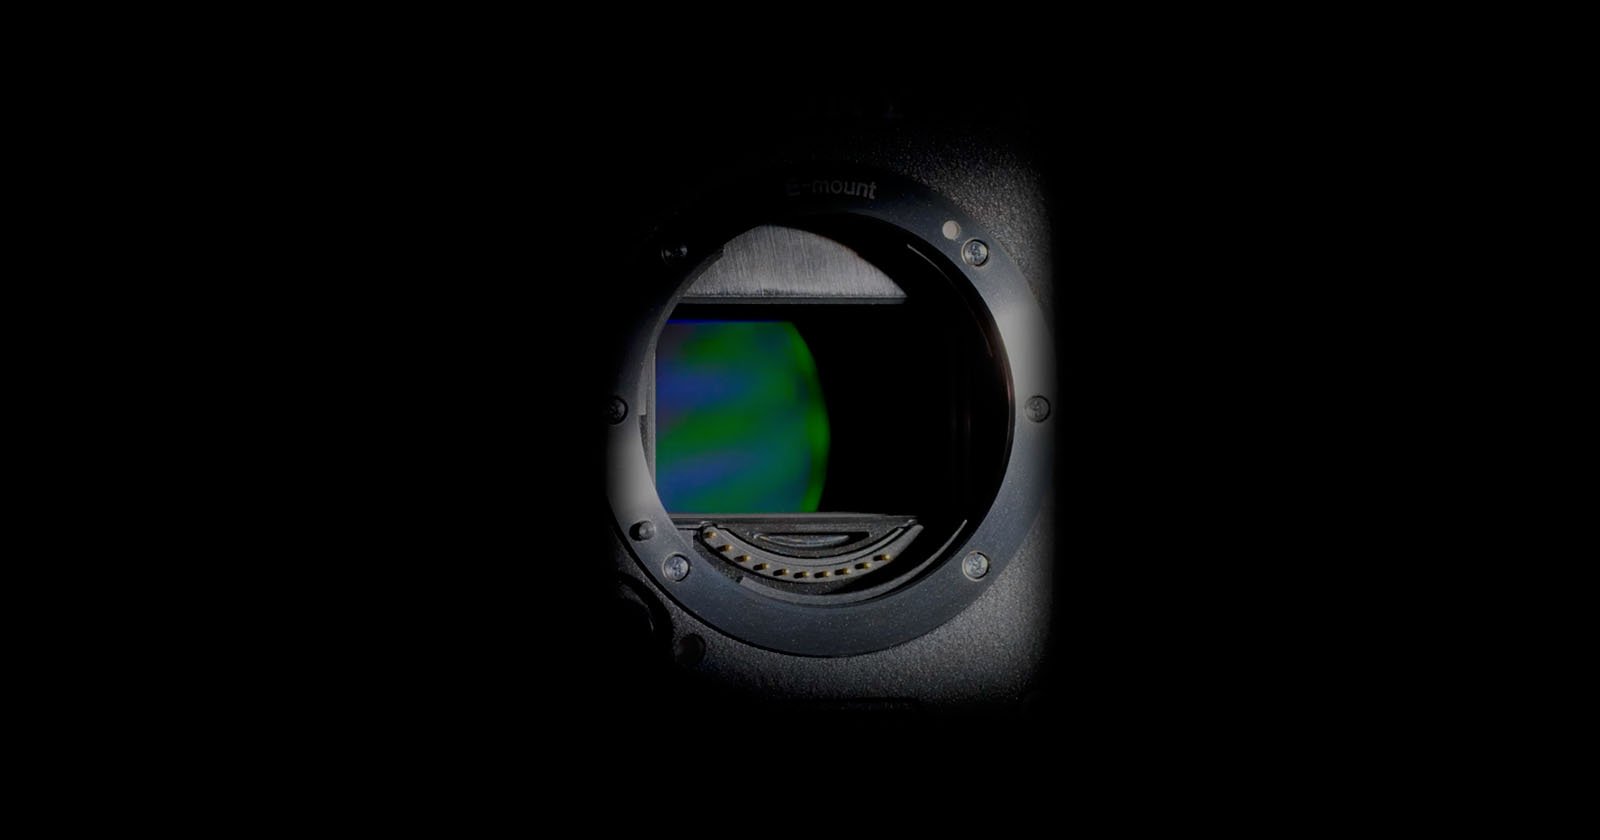
Sony released a short and mysterious new video on its YouTube channel today, teasing the unveiling of a new camera on March 26 at 10 AM EDT (7 AM PDT).
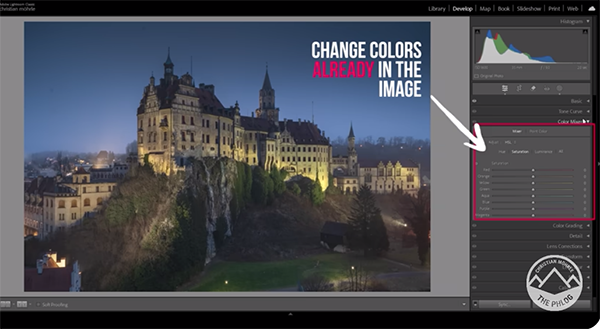
Outdoor photographers go to great lengths when editing photos for perfect color, and there are a variety of common methods for accomplishing the task. This tutorial from the PHLOG Photography YouTube channel cuts through the grease by explaining “the difference between Lightroom’s two most important color grading tools.”
Instructor Christian Mohrle is a highly acclaimed German landscape shooter whose straightforward how-to videos are among the most popular that we share. Today’s episode compares Lightroom’s Color Mixer tool to the renamed Color Grading tool (formerly known as Split Toning). In less than 15 minutes you’ll understand the best approach to take depending upon the specific image at hand.
Feel free to download Mohrle’s demonstration image with a link in the description beneath the video if you want to follow along and make the adjustments yourself as they’re explained. He begins with several basic global adjustments to prepare his photo for the transformational selective enhancements that follow, and the first step is merging a five-shot HDR file.

Mohrle then expands Lightroom’s Basic panel and changes the profile from Adobe Color to Adobe Landscape which instantly boosts Saturation. The next steps include increasing overall exposure, slightly dropping Highlights, and opening Shadows to achieve greater detail in the darkest portions of his scene. He also modifies White Balance to fix an unnatural green cast.
Mohrle completes the preliminary adjustments with an increase in Texture and Clarity for a sharper look and a slight decrease in Vibrance. The fun part now begins by employing masking to introduce a variety of local enhancements to balance out all the tones, and the first step is a very simple sky selection to darken the top half of his shot while taking care not to bias a majestic building that extends above the horizon.
Now it’s finally time for Mohrle’s to explain the difference between Lightroom’s Color Mixer and Color Grading tools so that you understand why, when, and how which approach is most effective. He completes the impressive edits with a bit of calibration and vary careful sharpening. Check out the before/after images and you’ll agree.

Mohrle’s instructional YouTube channel is a great source of shooting and editing information for all outdoor photographers, so be sure to take a look and explore.
We also encourage you to watch a behind-the-scenes tutorial we featured recently with an accomplished pro who demonstrates how to create attention-grabbing landscape photographs in the camera by including spectacular sunstars in the scene.
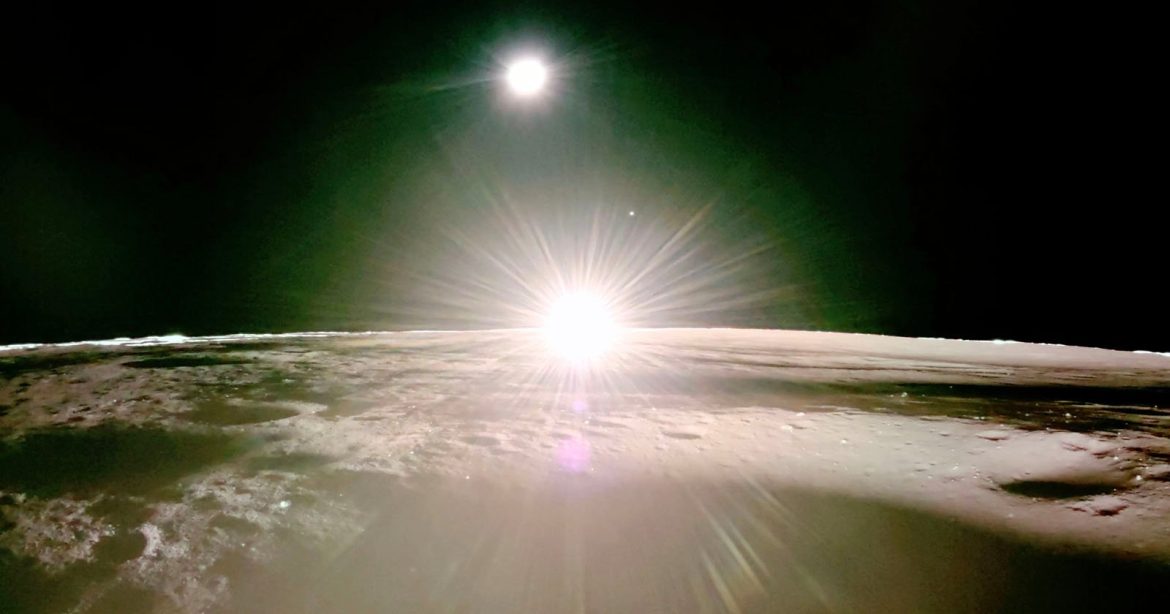

The Blue Ghost Moon lander has captured the first-ever high-definition photos of a lunar sunset.


In an impromptu dream come true, 11-year-old photographer Mason Johnson went behind the scenes at the “Today” show.