1CM21025_0.png

Use the INSANE Potential Of This Lightroom Tool to Boost Outdoor Photos (VIDEO)

Regular Shutterbug readers are well-acquainted with extraordinary German Landscape pro Christian Mohrle, not just because of his inspirational images but also for the post-processing tutorials shared on the popular PHLOG photography You Tube channel that’s loaded with helpful how-to tips.

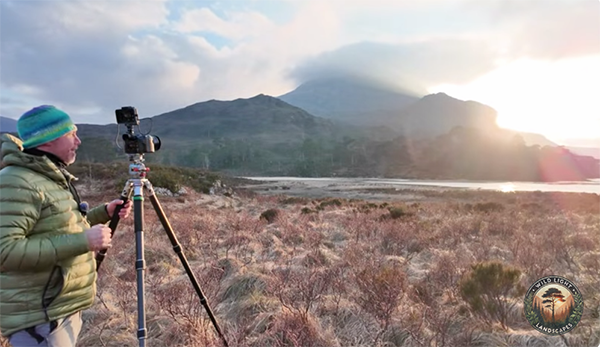
This must-see episode describes what Mohrle says is the “insane” potential of Lightroom’s Object Selection masks. Today’s demonstration image is a well-composed shot of a gorgeous mountain scene. However, the dull-gray photo is totally devoid of impact and this is where Mohrle’s “impossible” masks transform it into a keeper with minimal effort.

Mohrle insists that in the next 14 minutes “you’ll learn how create complex masks using Lightroom’s Object Selection tool.” As always, he holds off on selective enhancements until after making several global adjustments to create the best possible base image from which to proceed.

These preliminary steps begin by changing the profile from Adobe Color to Adobe Standard which immediately lessons contrast and provides greater control later in the process. He also drops overall exposure (paying close attention the histogram), slightly boosts shadows and blacks, drops highlights and slightly increases whites—all for reasons that he explains.

Mohrle finishws the initial work by modifying White Balance for a cooler look, removing a green cast, and creating a sharper effect by introducing Texture. Interestingly, he drops Clarity and Dehaze to lay a soft glow over the entire image.

Now it’s finally time for Mohrle to unleash Lightroom’s Object Selection tool for his game-changing masking technique that likely to become a strong component of your everyday workflow. He walk’s you every step of the way will clear examples that make everything super simple to understand.

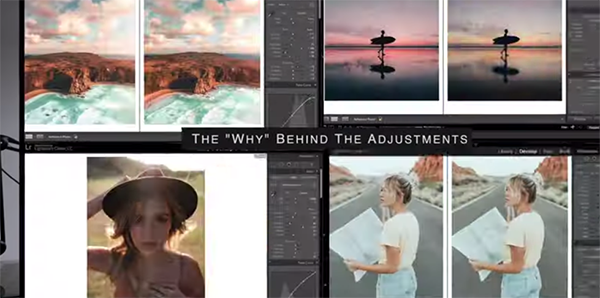
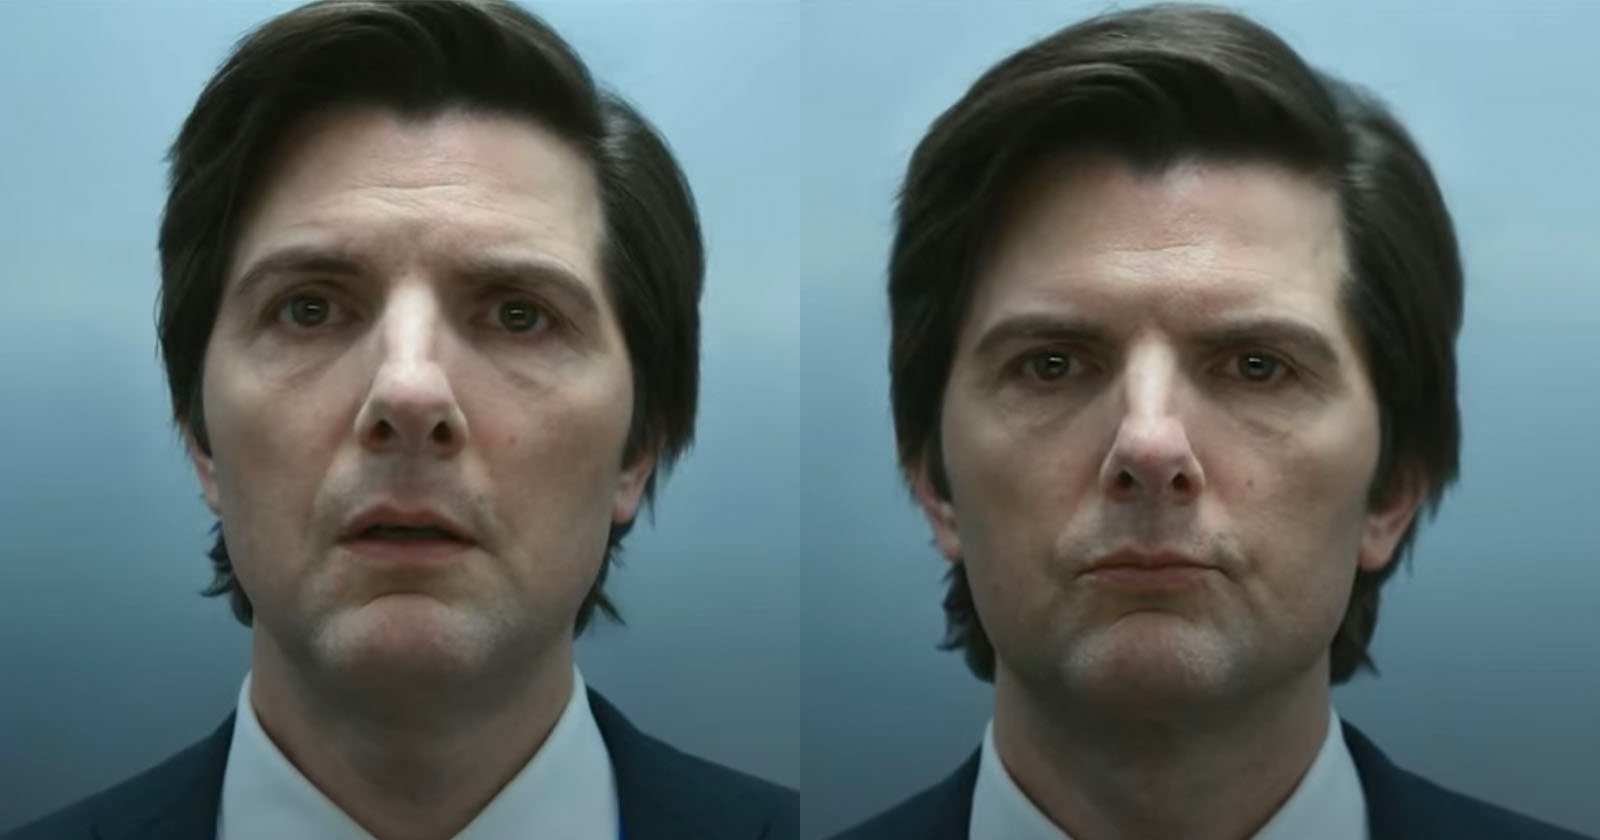
The remarkable transformation concludes with thoughtful color grading and very judicious sharpening. Just glance at Mohrle’s before/after images and you’ll be impressed.

Mohrle’s popular YouTube channel is a great source of shooting and editing tips for all outdoor photographers, so don’t forget to pay a visit when you have time to explore.

And on a related note, we also recommend watching a tutorial we featured with another accomplished shooter who demonstrates how to capture detailed and perfectly exposed outdoor photographs when the key subject in your scene is darker than normal. Here’ a hint: Don’t let the camera decide.

1EK2725.png

Exposure Basics: How to Capture Detail in Dark Subjects (VIDEO)

OK, STOP and answer this question without giving it too much thought: Should you increase or decrease exposure when photographing dark subjects? Are you sure? If not, check out this quick tutorial from Ejaz Khan so you’ll get things right, whether you’re photographing wildlife or other outdoor scenes in which the key subject is darker than normal.

Khan began his career in filmmaking before applying his love of drama and storytelling to still photography. He now travels the globe and uses his narrative skills to capture the untamed beauty, energy and movement of wildlife subjects. So he’s the right guy to address the question we posed at the onset by providing actionable steps that work every time.

Khan summarizes today’s episode like this: “From mastering gear and outdoor exposure, to understanding the importance of camera settings, we cover it all whether you’re a seasoned photographer or just getting started.” The methods he explains are provided in the context of large bison. Nonetheless, the tips you’ll learnwill work wonders with small subjects like birds and dark inanimate objects as well.

This crucial exposure decision will enable you to faithfully reproduce detail in fur, feathers, tree bark, and the like. Khan’s invaluable insights take less than 10 minutes to explain and are guaranteed to eliminate all exposure guesswork the next time you’re out and about with a camera.

Khan is in the field with a herd of bison moving through the frame, and he’s armed with a long telephoto zoom to avoid approaching these unpredictable beasts too closely. It’s not a particularly bright day, so his initial exposure settings are f/2.8, 1/1,600, at ISO 640. It’s important to keep in mind that he’s shooting hand-held.

Metering a scene accurately with the proper mode is absolutely essential with dark (or bright) subjects and Khan explains the process. Thoughtful composition is also part of the equation, especially for emphasizing the power of large subjects, and the vantage point and camera angle you choose goes a long way to fulfilling this goal.

We’ll leave it up to Khan to answer the question we asked up top and provide both the why and the how. But here’s a clue: “The bison is dark and I want it dark, but the camera is telling me to make it gray because that’s the camera’s job.” Now you got, right?

There’s much more to learn on Khan’s convivial YouTube channel, so be sure to pay a visit and take his advice to heart.

We also recommend watching a tutorial we featured earlier with another accomplished pro who demonstrates why “never shoot into the sun” is a rule you need to ignore if the goal is to capture stunning landscape photographs instead of me-too snapshots.

1GM2725.png

Beginners Guide to Capturing Epic Photos of Starlit Skies (VIDEO)

Not long ago we featured a comprehensive guide to photographing the Milky Way, with camera settings advice, gear recommendations, post-processing tips, and more. We’re following up on that today with this primer for inexperienced photographers who want to capture awe-inspiring images of starlit skies, even when the Milky Way isn’t visible.

Instructor Glenn Martin is a versatile award-winning Australian pro whose eclectic portfolio contains spectacular images of everything from landscapes to wedding photos. He’s been teaching astrophotography to beginners for years, and this 11-minute guide is just what you need, whether this genre is unfamiliar or you just need a quick refresher to brush up on your skills.

You’ll be able to get the job done with whatever DSLR or mirrorless camera you own, and Martin provides an easy-to-follow breakdown of all the appropriate settings for achieving accurate exposures. He also reveals the unique interplay between ISO, shutter speed, and aperture for this uncommon style of landscape photography

Just about any wide lens will get the job done and Martin has a few recommendations for optimum results. Martin discusses how to use other must-have equipment like tripods and remote shutter releases that help ensure that your shots are sharp and breathtaking. There are also several quick tips for shooting in Manual mode.

A lot more goes into achieving sharp images of the nighttime sky beyond configuring the camera properly. To that end Martin demonstrates a foolproof focusing technique that he promises will deliver precise results—whether you’re shooting wide-field landscape scenes or deep-sky subjects.

Martin’s guarantee is this: “I’ll share valuable tips and tricks that I’ve learned over the years to overcome common challenges so your next astrophotography adventure is a success.” So jump aboard, get out there this weekend after dark, and photograph the sparkling nighttime sky with your newfound skills. It’s easier than you think.

Then take a trip to Martin’s popular YouTube channel where you’ll find many more instructional videos for all types of outdoor photography.

And be sure not to miss the comprehensive guide mentioned above so you’ll know exactly what to do the next time the Milky Way embelishes the sky.

1MS2625.png

How to Create Stylistic Effects with Lightroom's RGB Curves: FREE Presets Included (VIDEO)

Lightroom’s powerful Curves panel offers far more versatility than the limited global adjustments many photographers use to adjust the brightness and contrast of an image and balance out tonal values. These include selective enhancements for targeting and enhancing different areas within a scene.

Today’s eye-opening tutorial from Lightroom Color & Editing Mastery demonstrates how to boost the impact of an image by harnessing the power of Lightrooms RGB Curves to create a variety of stylistic effects that will make your images stand out while keeping thing looking natural.

The video below is designed for inexperienced users, so instructor Maarten Schrader presents his tips in a straightforward manner that anyone can accomplish in minutes. This way you can replicate a variety of appealing styles that strike your fancy without digging too far into the weeds.

Schrader recommends approaching Curves “as a scientific tool” so that you can mimic the look of images you appreciate from others, and then develop personal styles as your skill and confidence grows. The trick is becoming familiar with the why as well as the how. Schrader helps gets you started with a selection of free Curves presets that you can access with a link in the description the video.

The first step is interpreting the graphic interface and Schrader begins with this: “The box represents every shade of your image, with dark tones on the left, bright values on the right, and everything else in between.” This preliminary knowledge is about as far as some photographers go, which means ignoring potential color enhancements and other local adjustments that are available for creating a recognizable style of your own.

It quickly becomes apparent that this isn’t a one-size-fits-all operation, and there’s plenty of room for experimentation. Schrader’s goal is to provide you with a firm understanding of the concept—with clear examples and the various options that are readily available. In short, it’s all about unlocking your inner creative vision.

There’s a lot more to learn on Schrader’s instructional channel, including the ramifications of color theory when shooting everything from environmental portraits, street scenes, landscapes and more.

Be sure not to miss another basic guide we featured recently that demonstrates why you shouldn’t underestimate several useful sliders in Lightroom’s Basic panel that many photographers overlook.

1PT22525.png

Shoot Into the Sun: Breaking the Rules for Stunning Outdoor Photos with a Unique Look (VIDEO)

We were all taught early on to always shoot with the sun to our back, and that worked OK for beginners looking for the easiest way to capture a “Kodak moment.” If you’re still following this familiar “rule,” it’s long past time to be more creative, and one effective way to do that is by setting aside what you learned about composition and try shooting towards the sun.

This technique is admittedly more challenging than the conventional approach, but the primer below from Wild Light Landscapes demonstrates foolproof techniques for transforming harsh light into breathtaking photos. So click the Play button and learn how to switch things up in the next 11 minutes.

Instructor Paul Thomson is an acclaimed British pro who lives with the Lake District on his doorstep. He says, “I’m living the dream of full-time landscape photography,” and today’s behind-the-scenes episode takes you along on an adventure in the Scottish highlands as he illustrates various techniques will a handful of photos made with the sun in his face.

Thomson walks you through the appropriate camera settings and demonstrates several techniques for more powerful composition.  He also discusses how affordable lens filters can be a big help for taming the sun by balancing exposure.

Bottom line: Ditch the old rule, put on your sunscreen, and face the sun head on. Think of it this way: at least you won’t have to struggle with the sun hitting your camera’s rear LCD and making everything difficult to see.

Once today’s video concludes take a look at at Thomsons’s popular YouTube channel where there are many more how-to videos for improving your shooting and post-processing skills.. And by becoming a subscriber you’ll have quick access to several  valuable perks.

We also recommend watching an earlier tutorial we featured with another accomplished pro who demonstrates when, why, and how strategic tight crops will create attention-grabbing nature and landscape photographs with a more powerful effect.