Some photographers are confused by the concept of setting white balance in the camera, and we frequently post tutorials on this important topic. Today’s video with Jimmy West simplifies the notion by explaining that “white balance matters more you think and why these three settings are the only ones you’ll ever need.”
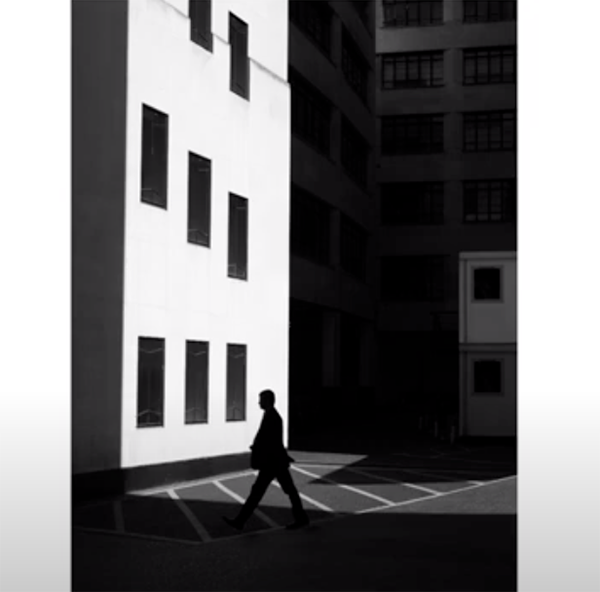
West is a versatile Australian pro whose portfolio contains an impressive selection of landscape, street, and seascape imagery. He begins this enlightening episode by breaking down what white balance actually does, how it affects every photo you capture, and three simple options that will keep your editing workflow fast and stress-free.
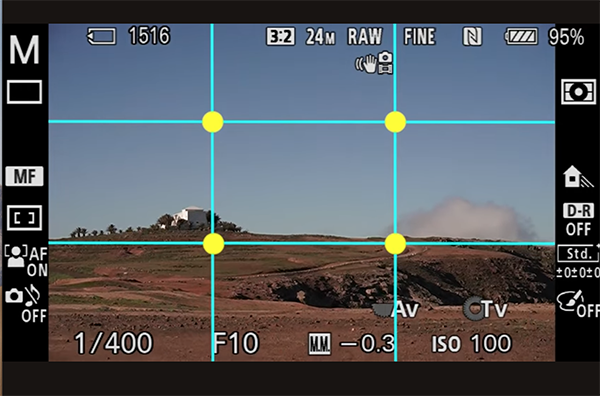
He puts it like this: “Whether you’re shooting landscapes, street photos, or video content, these are the only white balance settings I recommend, and I’ll explain why I personally lock mine to Daylight (5600K) for nearly all of my photography—even when the light changes.”

The bottom line is that by following his advice you be able to achieve realistic results and maintain color consistency from one shoot to another. So what is this trio of essential settings? Keep watching!
The trick is understanding which option to choose when, and this is what you’ll learn how to determine with precision in the next 10 minutes. As West likes to say, “sometimes capturing the perfect shot isn’t about what’s in front of you, but rather how you see it.”
West starts with the basics, explaining that white balance is a setting that tells the camera how neutral white should appear based upon the color temperature of prevailing light. Natural illumination on a cloudy day, for example, is cool and bluish, while incandescent bulbs or sunrises and sunsets are warm and orange.

But here’s the rub: “You camera tries to compensate for this by shifting the color tones to try to make white look neutral”—even though this may not faithfully represent what your saw through the viewfinder nor be the effect you intend to convey.
That why white balance isn’t a set-it-and-forget-it operation and why you often must help your camera out by exerting a bit of control. West greatly simplifies the process with illustrative photos that exemplify the benefits of the three settings he recommends.
There’s are many more shooting tips and gear recommendations on West’s instructional YouTube channel, so be sure to take a look when you have time to explore. We also recommend watching the helpful explainer we featured earlier in the week with a notable German pro who explains how camera drive modes work and which options are appropriate for different styles of photography.