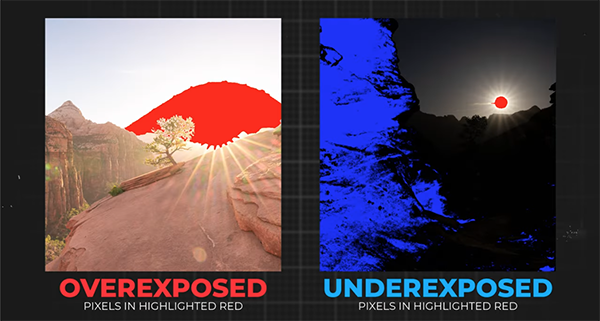
All cameras feature a selection of Drive Modes, whether your weapon of choice is a DSLR, mirrorless model, or a full-featured compact. Choosing the appropriate setting for the task at hand will simplify a shoot and increase your odds of success.
Instructor Benjamin Jaworskyj is a self-taught German photographer and adventurer whose basic tutorials take you behind the scenes as he demonstrates simple techniques that shooters of all skill levels can employ to elevate their skills. By the time this nine-minute episode concludes you’ll approach the topic with confidence and know when and how to use Single mode, one of the Burst settings, and even one of the two Self-Timer options.
Ben begins with the Single mode which is the setting most photographers use. Simply focus on your subject and capture the shot. This mode works well for landscapes, environmental portraits, and other situations when there’s no movement within the frame.

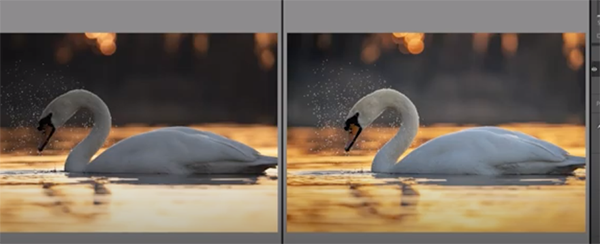
The Continuous mode, on the other hand, is a better choice when photographing subjects in motion, like birds in flight, wildlife on the ground, and a variety of fast-moving action-sports images. In this case the camera will typically offer of choice of three burst settings—Low, High, and High+. Keep in mind that the nomenclature varies from one camera to another.
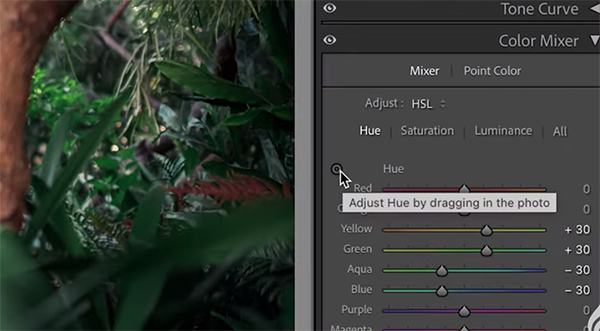
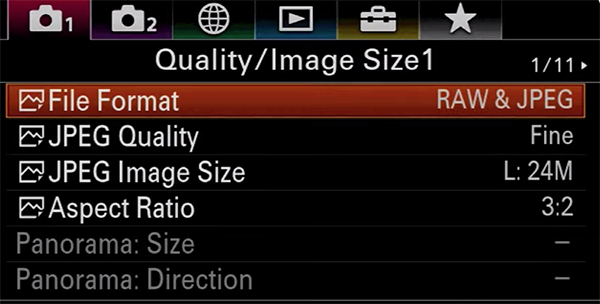
Ben explains that when one of the Burst modes is selected, the camera will keep shooting at the chosen rate until you remove your finger from the shutter button or the camera empties its buffer. The speed of the buffering process depends upon the camera in use and whether you’re shooting Jpegs, Raw Files, or Jpeg and Raw.
Another consideration of note is the speed rating of your memory card, and this is super important when shooting at the highest burst rate or when making videos. There are a few other details to keep in mind—just follow Ben’s advice.

The video concludes with an overview of your camera’s Self-Timer settings, because these also fall under the category of drive modes. And there are usually two options: the two-second default and another with a 10-second delay.
Ben’s instructional YouTube channel is a great source of information, especially for beginning photographers who will benefit by learning the basics.
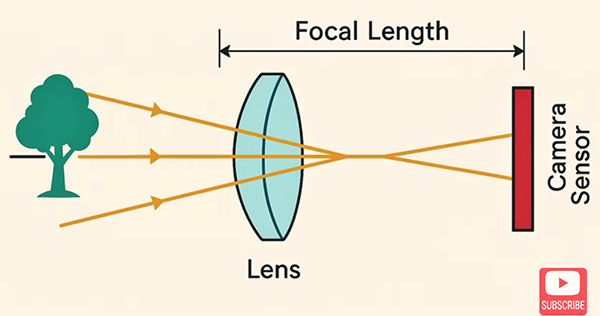
We also suggest watching another straightforward primer we featured recently that demystifies lens focal length and explains why there’s more to this concept than just magnification.