The post Drone Photography: Tips for Stunning Aerial Images appeared first on Digital Photography School. It was authored by Andrew Thomas.
With the latest and greatest from DJI arriving in the form of the Mavic 4 Pro, we’re seeing some amazing drone work, both stills and video, are you flying? Where do you share your work? Drop a link in the comments – we’d love to see it!
Updated 27 May 2025, now, on with our story…
One of the most exciting developments in photography in the last handful of years is the drone camera, which allows you to capture unique viewpoints of common subjects. And while drones were once prohibitively expensive, the cost of getting a camera into the air has dropped dramatically – which means that nearly everyone can capture stunning drone shots!
If you decide to venture down this road, I guarantee you won’t be disappointed; aside from the amazing images you can produce, aerial shooting is just tremendous fun.
That said, creating top-notch drone photography is about more than flying a quality product and pressing the shutter button. Like all forms of image-making, it requires careful attention to light, composition, settings, and more. In this article, I share tips to improve your drone shots, and I also include lots of examples to get you inspired.
Let’s dive right in, starting with my number one tip:
1. Always be careful when flying

One of the big advertising features of most drones these days is their ease of operation. Manufacturers love to talk about their drones’ ability to fly straight out of the box, and it is very true. You can often just charge the battery, download the relevant smartphone app, fire up the drone, and get flying.
However, while it’s easy to get drone cameras off the ground, common sense and great care are a huge part of aerial flying. Otherwise, you risk damaging your drone, damaging the environment, and/or breaking the law, all of which can be devastating.
I suggest you start by adding some limitations to your drone’s operation; these are easily set up on your smartphone app. For instance, it’s a good idea to set a reasonable maximum height and distance. Make sure you also put serious time and effort into understanding your drone’s settings so that you understand each and every button and option before your drone takes off.

Additionally, when you’re flying a drone camera for the first time, start somewhere wide open, such as a local oval or park. Spend some time getting a feel of the controls before you think about pressing the shutter button; practice taking off and landing the drone, and make sure you can effectively turn and move the drone in the air.
Always be aware of your surroundings and the position of the drone in the sky; drone cameras usually have a wide-angle lens, so it’s easy to misjudge your proximity to objects such as trees and buildings, especially if you’re viewing the feed through a smartphone screen. If you’re not sure that you can successfully navigate a certain area, it’s best to stay away until you’ve built up your skills and confidence.
2. Learn (and follow!) the rules and regulations
Most countries have rules regarding drone flight. Needless to say, it’s important that you carefully research all relevant regulations, then follow them carefully when out flying. Failure to do so will stop your drone photo hobby or career before it ever starts.
I can’t mention all the regulations here, but they often include:
- The drone must always be in Line of Sight (LOS), which basically means you should always be able to see the drone when you fly it
- A maximum height of 400 ft (133 m)
- Never fly over groups of people
- Respect others’ privacy
- Don’t fly anywhere near airports and other no-fly zones as specified in each country
Some countries also require drone pilot licenses, though the requirements here may change depending on whether you plan to use the drone as a hobbyist or a professional. Again, be sure that you educate yourself before getting your drone in the air!

One relevant story: A few months ago I was flying above my local railway station and looking for the perfect image at dusk. After happily flying for five minutes or so, I looked down to see two local policemen coming over to me. My first move was to gauge their reaction to drone flying; if there were any concerns, I would have brought the machine down immediately. Luckily, these two policemen were very interested in what I was doing. By showing them exactly what I was seeing, and by explaining the whole procedure and the care I was taking not to fly directly above any people, they left with a very positive attitude.

I think it’s very important to fly with this mindset. Authorities may confront you about your drone use, and you have to be prepared to pack up if needed. One other thing about flying in public places: You will need to be prepared to become the center of attention. In my experience, people are generally quite intrigued by what you doing!

3. Rely on your drone’s technology when possible
Drone photography is a complex endeavor. Not only do you have to fly the drone carefully, but you also have to capture great photos! Therefore, rely on your drone’s technology when you can (and plan ahead when you can’t).
Today, drones offer all sorts of cool features, many of which can dramatically improve your image-making. For instance:
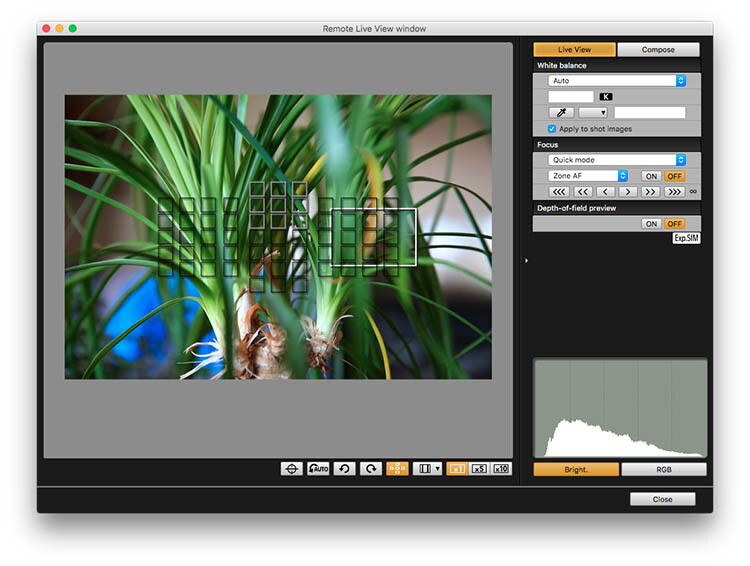
- By connecting your smartphone to your handheld remote control unit, you can see exactly what the drone is viewing. This makes for perfect compositional adjustments, and I encourage you to take some time carefully framing up the shot so as to best capture your subject before firing the shutter.
- Drones can generally hover in one spot with incredible stability, almost like an aerial tripod. Once you’ve determined the proper composition, feel free to take your hands off the controls and evaluate the shot carefully on your monitor. You can also use this feature to capture panoramas and bracketed shots.
- Drone camera controls are extensive and generally include RAW capture, full manual control, and even time-lapse options. Learn what your drone can do, and take advantage of the various controls.
- Understand your battery limitations and be aware of any fail safes. Drone batteries can vary in flight time per charge, but 20-40 minutes is pretty common. This may seem scary – what if your drone dies in midair? – but drones can generally detect when the battery is getting low and will go into RTH (return-to-home) mode, which ensures the drone comes back to you! If for some reason the connection between the remote control and the machine is lost (which can happen when flying behind buildings or trees), the RTH function should be activated. You can also activate the RTH feature manually; for instance, if you lose sight of the drone, you can press the RTH button and your drone will happily return to you.

4. Think about light and weather
When you first start doing drone photography, you may take hundreds of photos, load up your images on the computer, and marvel at the amazing scenes you’ve captured. In my first few weeks of flying, everything I took was thrilling. However, it’s important to realize that, while the world looks cool from above, not every shot is a truly great image.
Remember: Aerial photography is no different from other forms of image-making. The photographic fundamentals – light, composition, and settings – still matter, and it’s important that you do your best to consider each of these elements as you capture photos. In particular, I’d encourage you to pay careful attention to lighting, which will dramatically alter the landscapes you encounter.

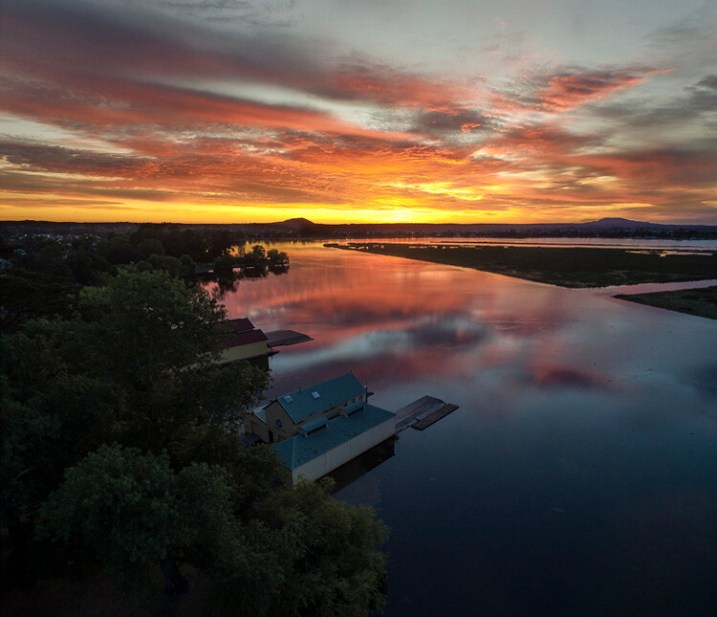
First of all, rather than just heading out randomly, aim to shoot when the light is most flattering: during golden hour and blue hour. If you’re after more subdued photos, working on cloudy days can be helpful, whereas you can achieve high-contrast landscapes (which can look great in black and white) by shooting around midday under bright sun.
Additionally, pay attention to the weather conditions and what they might offer. Fog can look amazing in drone shots, and a mix of clouds and sun at sunrise and sunset can also provide lots of potential. Make sure you also check the wind forecasts; drones are not easily handled in high winds, so I’d encourage you to shoot in calm weather whenever possible.
5. Aim to maximize image quality
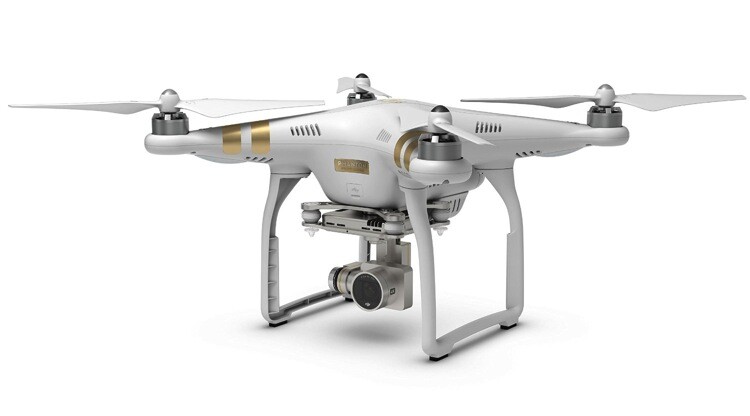
Drone cameras are generally inferior to the quality you can get with a ground-level full-frame model, but the images you can capture are surprisingly good. While the drone I’m using only offers 12 MP of resolution, I’ve managed to print up to A3 size (roughly 12×16 in), and you’d be hard-pressed to tell they were taken with a 12 MP camera.
But because drone cameras don’t contain top-level sensors, it’s important to take steps to maximize image quality. First, make sure your camera is set to RAW as opposed to JPEG; this will give you a lot more flexibility when editing, and it can ensure that you maintain detail in both the highlights and the shadows even when photographing high dynamic range scenes.
Second, set your shutter speed and ISO carefully. Boosting the shutter speed will lead to sharper shots (up to a point), but you also need to keep your ISO as low as possible to avoid noise. Therefore, it’s essential to strike a careful balance between these two settings.

I should also mention that most drones these days shoot high-quality video, which produces stunning aerial footage. So while drone photography is great, don’t neglect the video side of things!
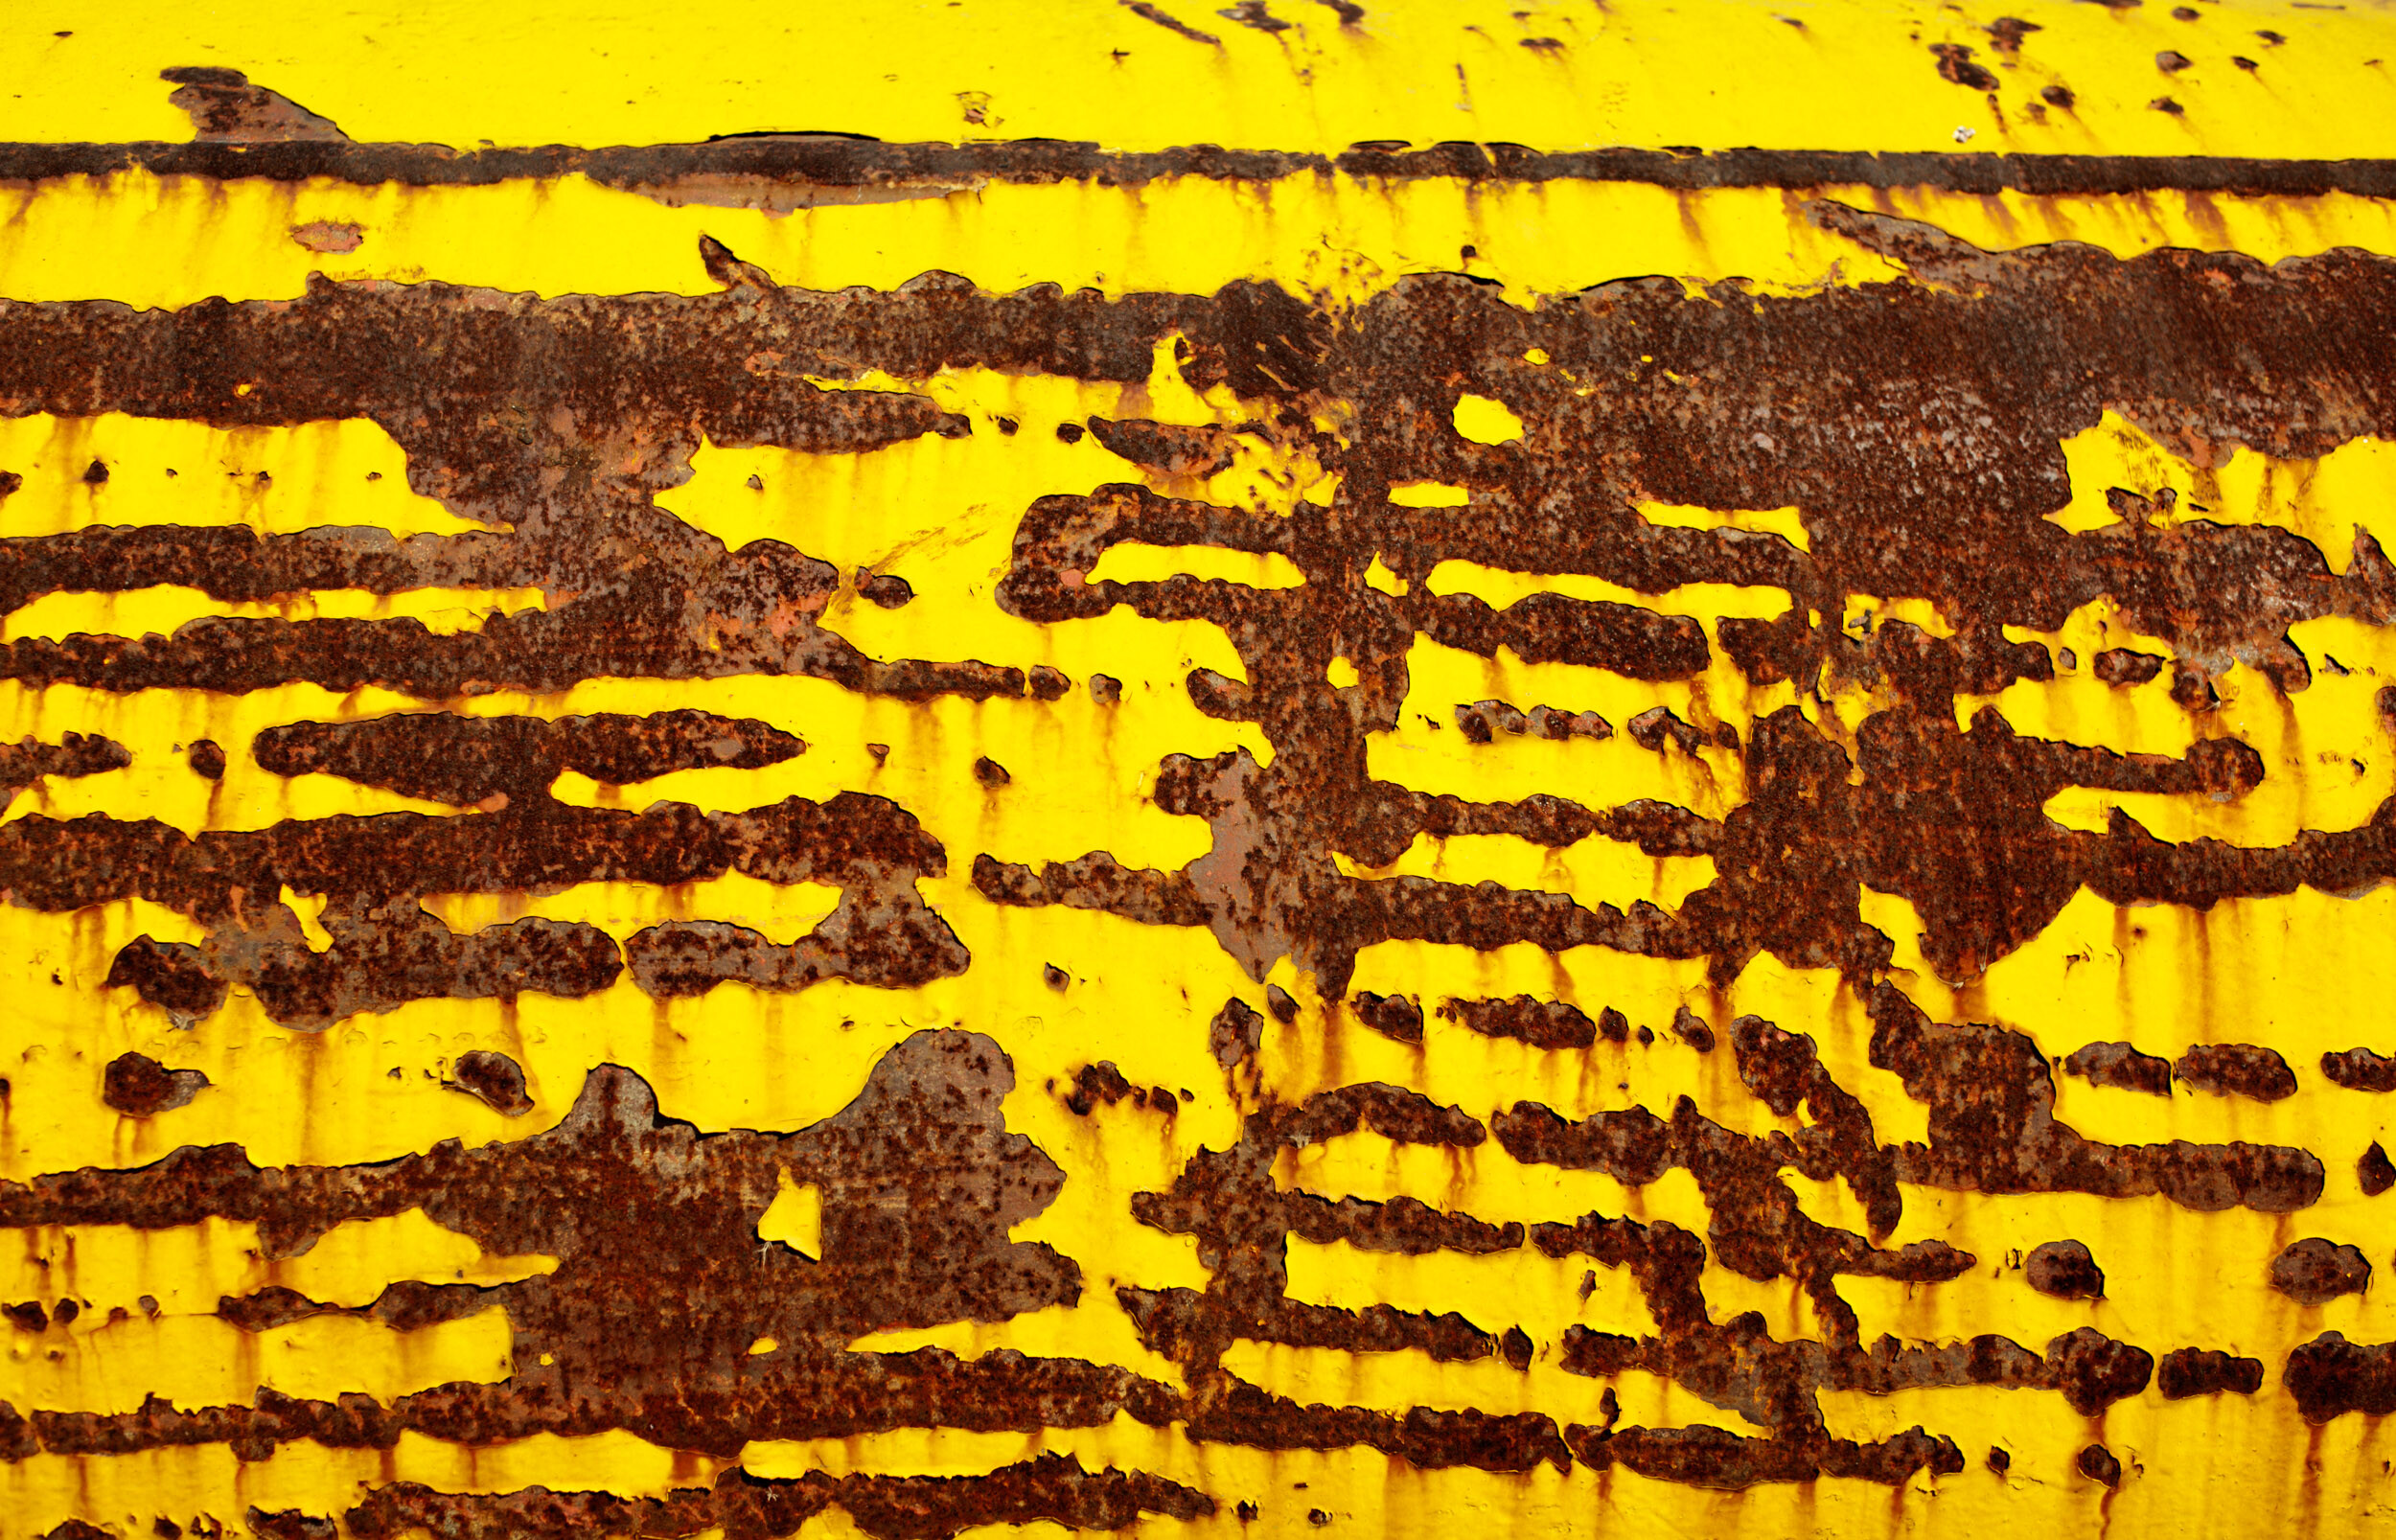
6. Look for patterns and rhythms in the landscape
Aerial views are often rather stunning on their own, but you can take your images to the next level by seeking out and carefully capturing shots of patterns and rhythms. Some patterns are obvious – such as those created by rows of wheat and farm fields – but others are more organic and can require a good eye and some patience.
A little advice:
First, don’t be afraid to simply fly back and forth over a landscape as you look for different patterns. The world looks very different from above, and you may be surprised by what you find.
Second, it can be a great idea to identify the area you plan to photograph in advance, then spend some time perusing the overhead view in Google Maps or Google Earth. These programs, while not always up to date, can make it very easy to determine potential compositions – and that way, you can maximize the use you get from your drone’s limited battery life (and from the often fleeting light).

Drone photography tips: final words
I’ve been doing landscape photography for a number of years, and I love aerial imaging. It’s a great way to give your portfolio an extra edge, and it’s a ton of fun, too.
So if you don’t already own a drone, I encourage you to go out and grab one. And if you do, wait for the light, find a good location, and enjoy some photography!
Now over to you:
Have you tried drone photography? Do you have any tips of your own? Share your thoughts in the comments below!
The post Drone Photography: Tips for Stunning Aerial Images appeared first on Digital Photography School. It was authored by Andrew Thomas.