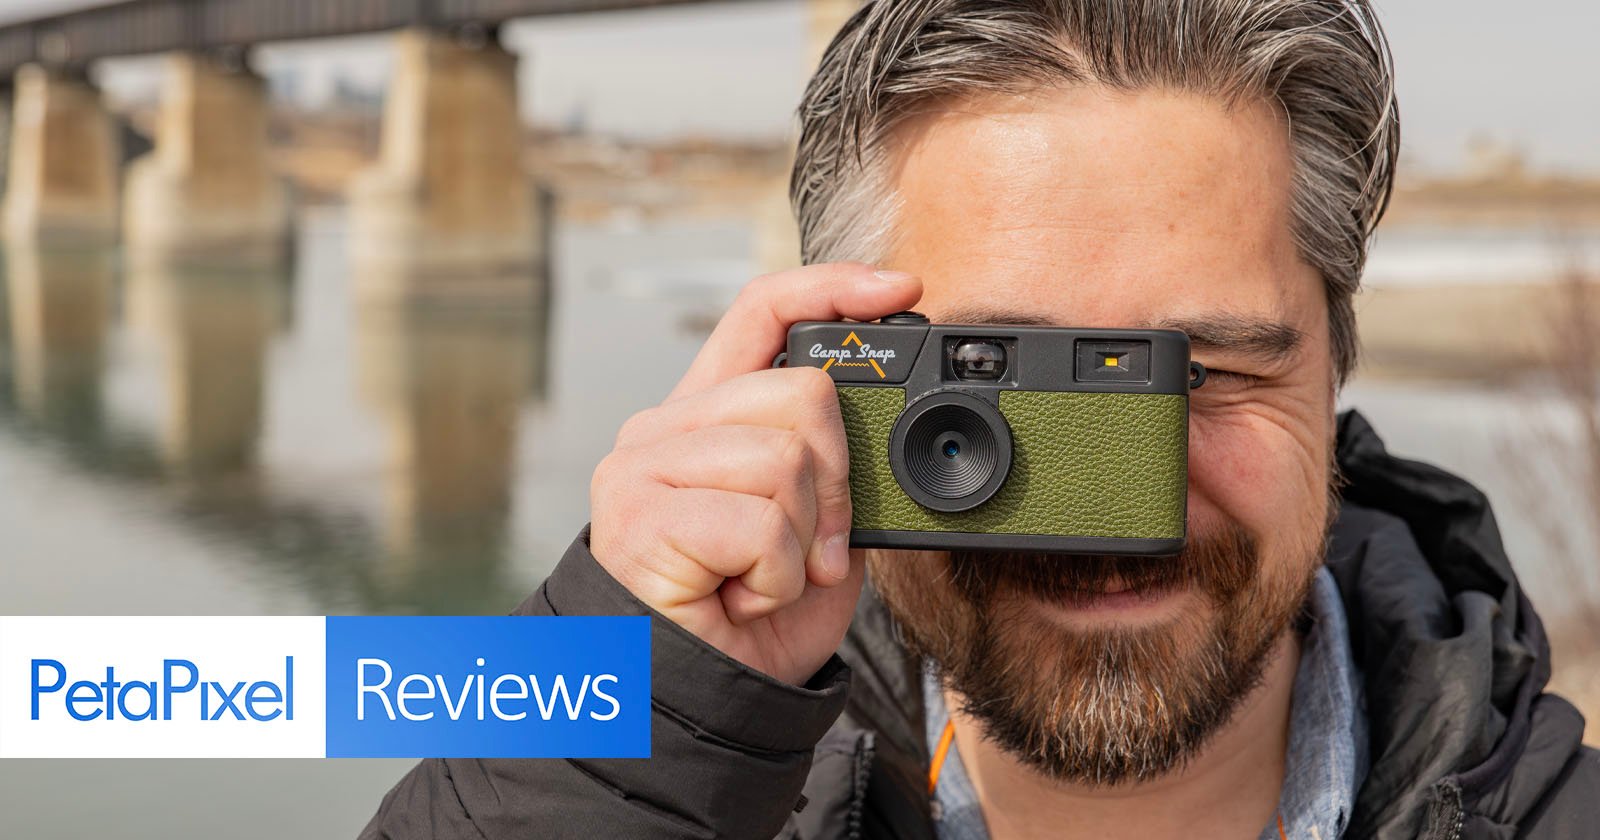
Every summer as a child, I attended a day camp during the school break because my single-parent mother had to work to make ends meet. Of course, I wanted to stay home and play video games but I soon began to love learning archery, making new friends, and exploring the wilderness without TV or computer screens to distract me. Many wonderful memories were made and I look back on these times fondly. It is this nostalgia for a simpler and more adventurous time that Camp Snap Photo is trying to market with its popular little 103B Camp Snap camera.
[Read More]
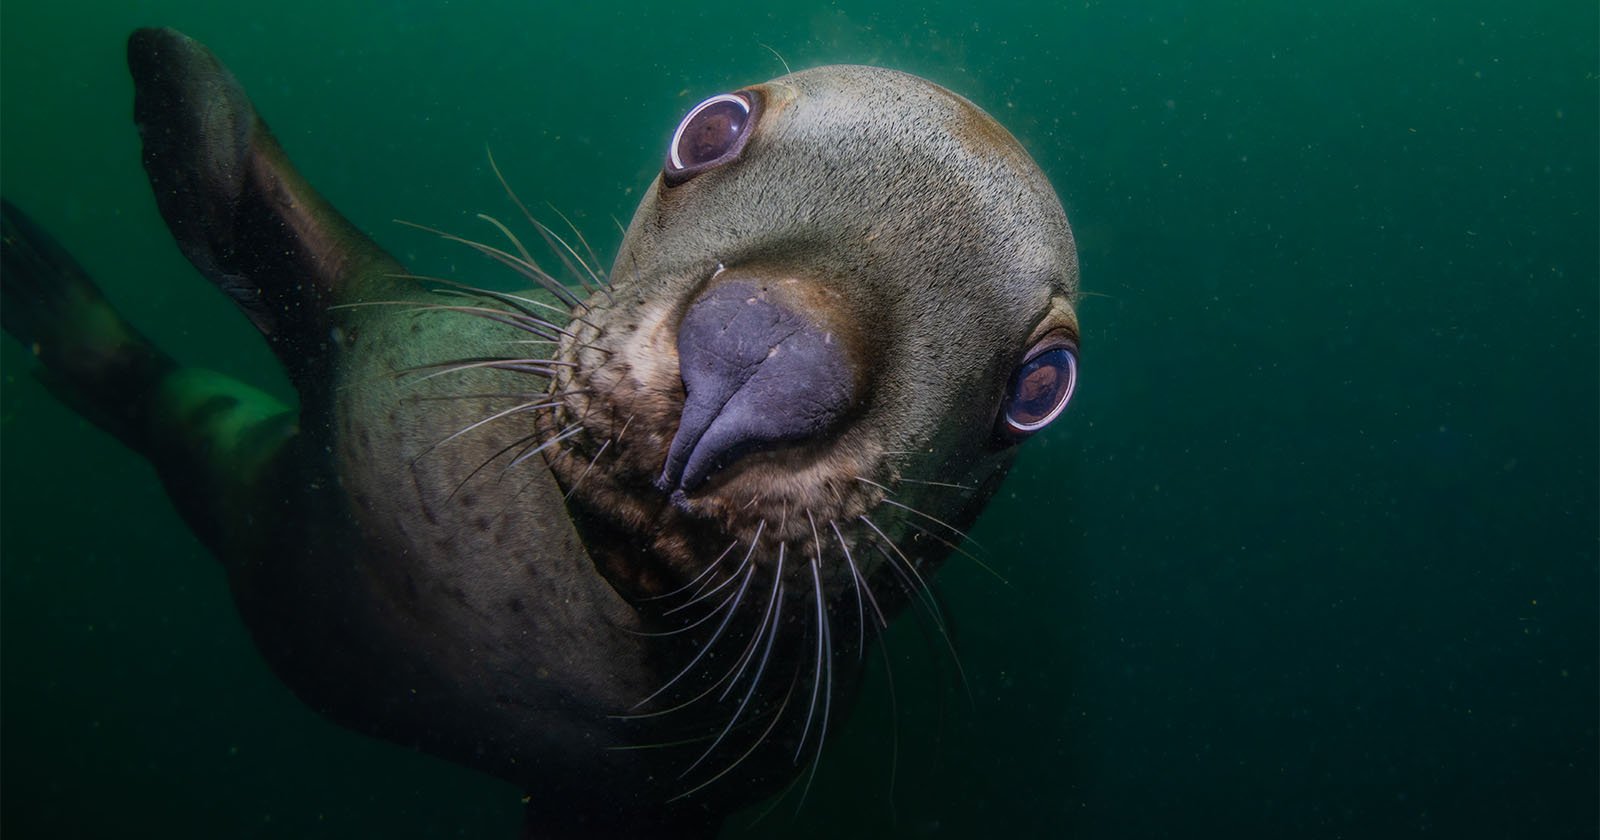
The Canon EOS R5 Mark II is 2024’s top underwater camera for underwater photography. It represents a significant upgrade over the original Canon EOS R5 which has reigned as the world’s most popular underwater camera for the last four years.
[Read More]
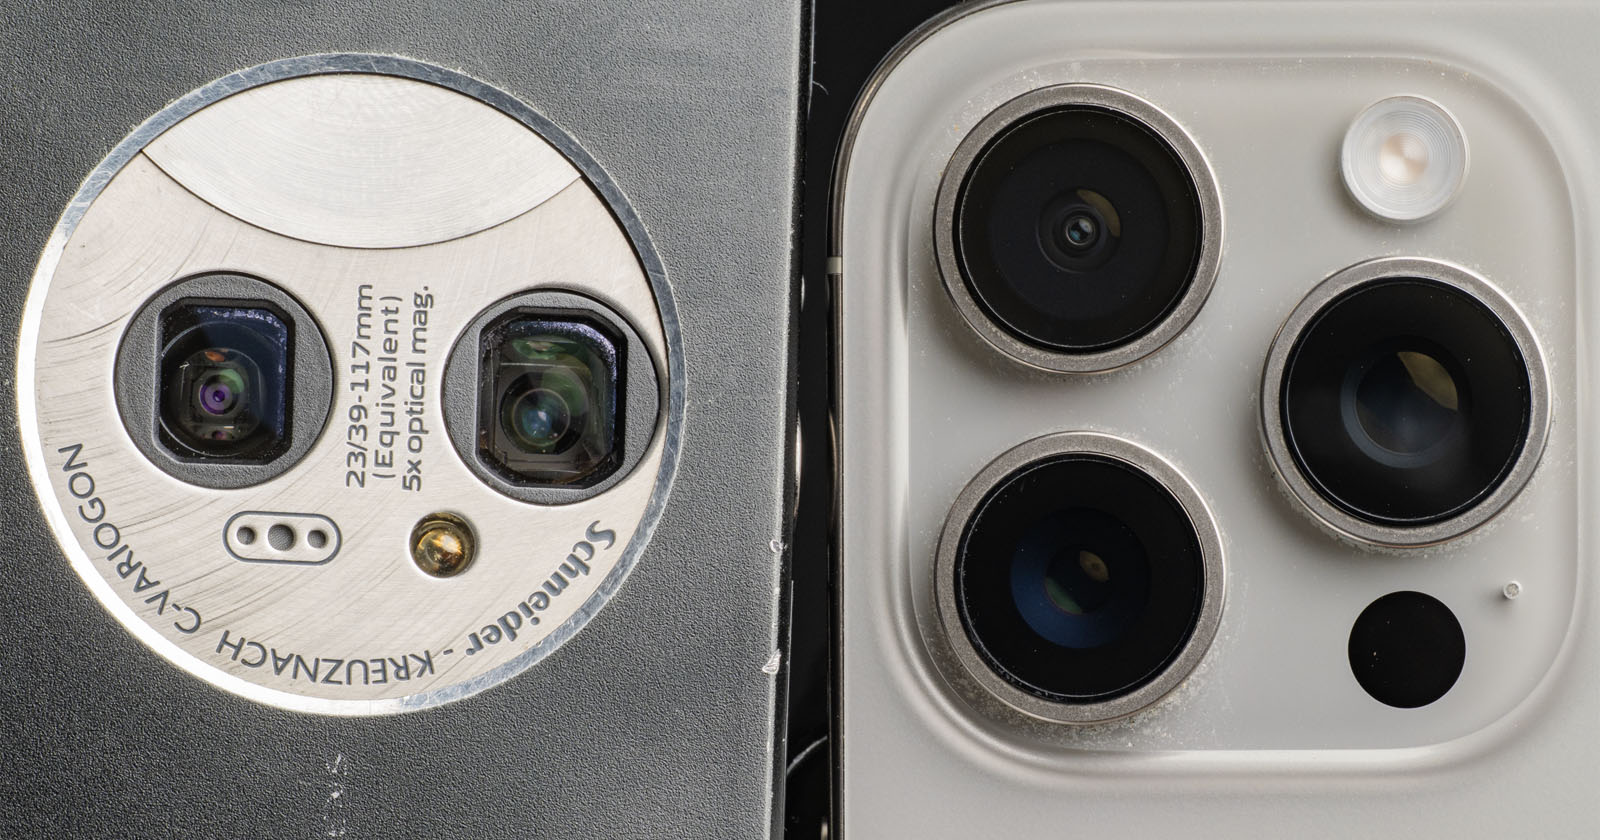
It was on The PetaPixel Podcast a few months ago that Becca Farsace was talking about her impressive collection of old Kodak digital cameras. That reminded me of a now ubiquitous camera innovation first seen in a Kodak point and shoot from a long time ago and that started my quest to shoot with one again.
[Read More]

There’s something unassuming about the Vivo V50 when first looking at it, yet its camera performance should be a wake-up call to others. The company still sees this phone as unique for its Aura Light in portrait photos but the more significant improvements come from everywhere else.
[Read More]

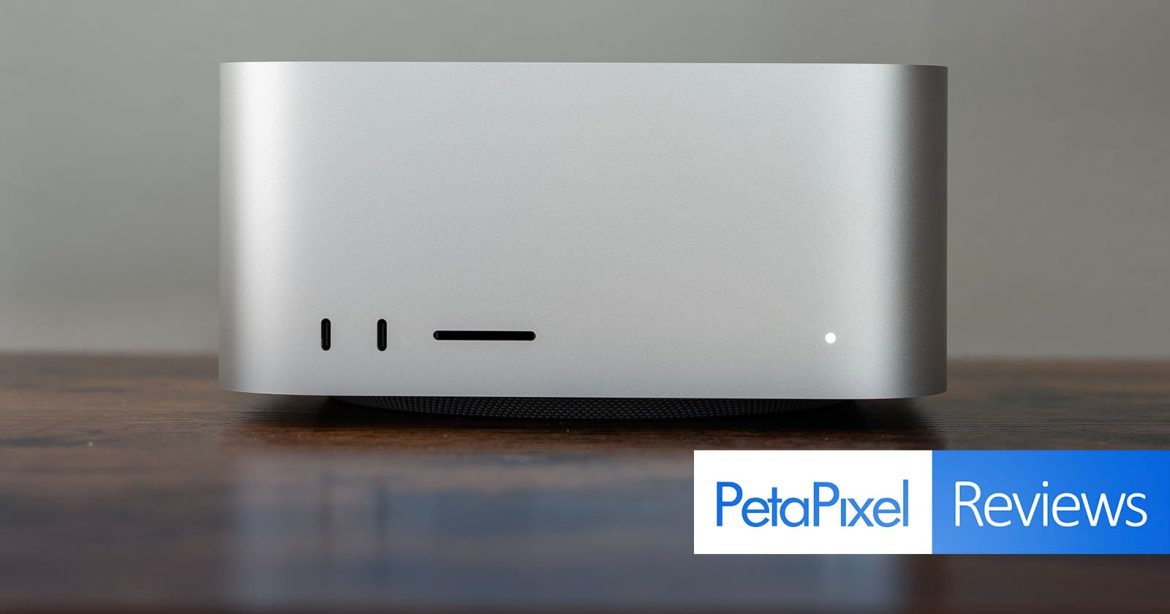
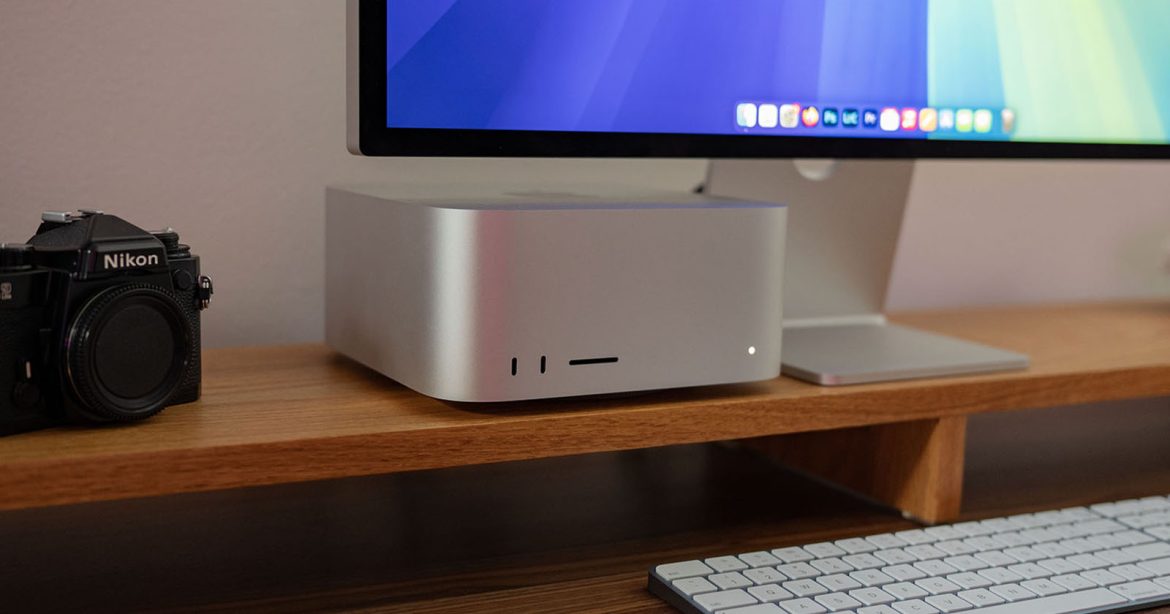
Apple calls its new M3 Ultra-equipped Mac Studio its most powerful computer ever. It’s a big claim and comes with a price tag to match. Apple’s ambitions create two questions, and we will answer them both: Is the Mac Studio with M3 Ultra truly Apple’s most performant computer, and if it is, is it worth it?
[Read More]

Not everyone has the need or budget to spring for Apple’s powerful MacBook Pro notebooks. Besides, some users just want their laptops to be as thin and lightweight as possible. Enter the newest, M4-powered version of the world’s most popular laptop, the MacBook Air.
[Read More]

Apple’s new Mac Studio with M3 Ultra is an impressive, powerful machine that is worthy of the “ultra” moniker. That said, it better be for the asking price. However, most photographers are probably better served getting the M4 Max version.
[Read More]
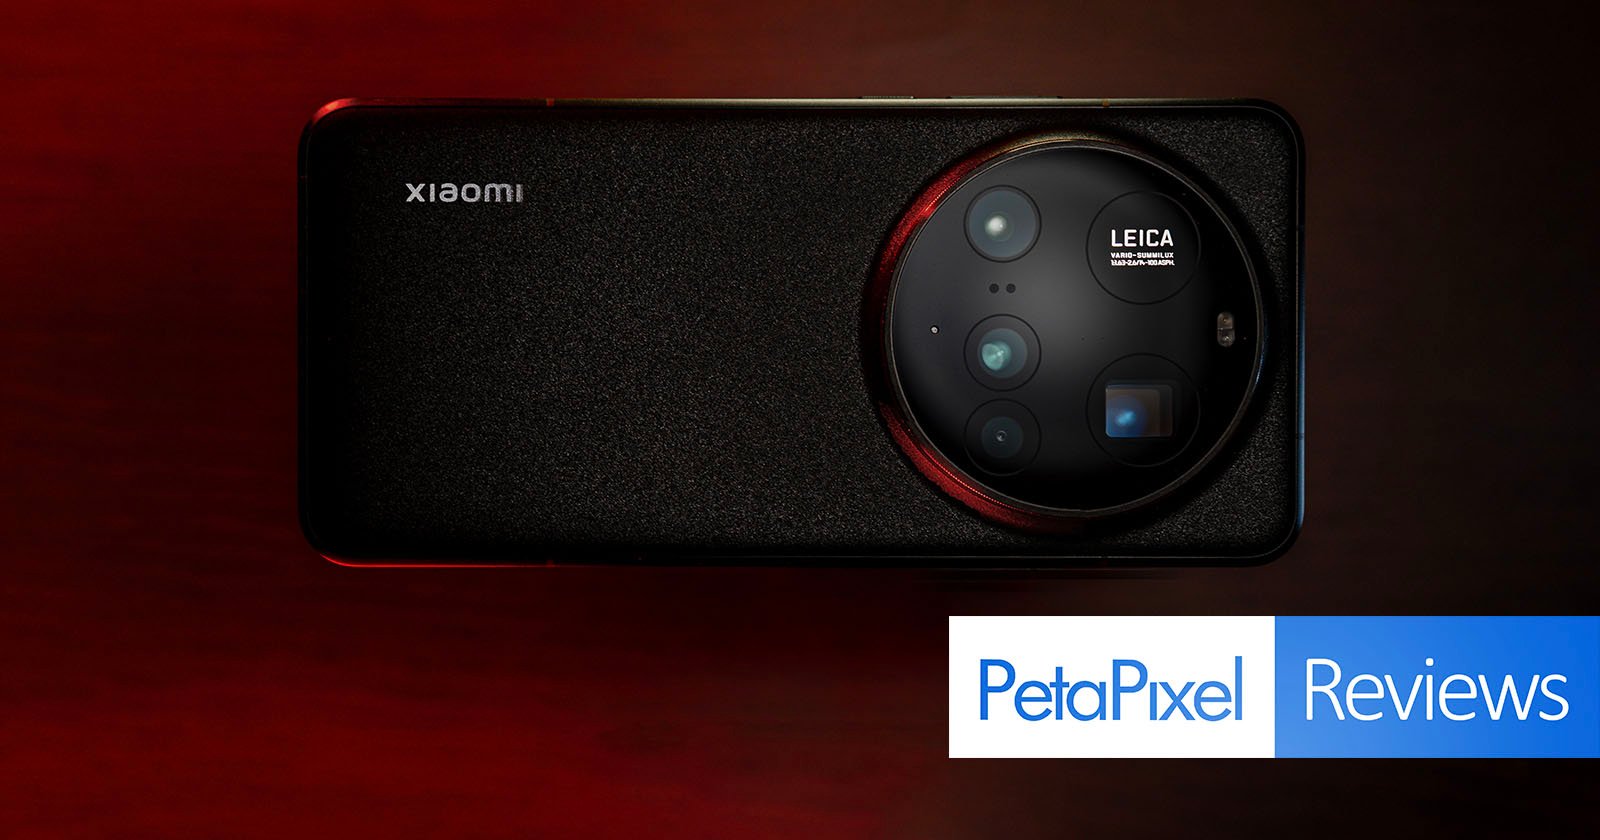
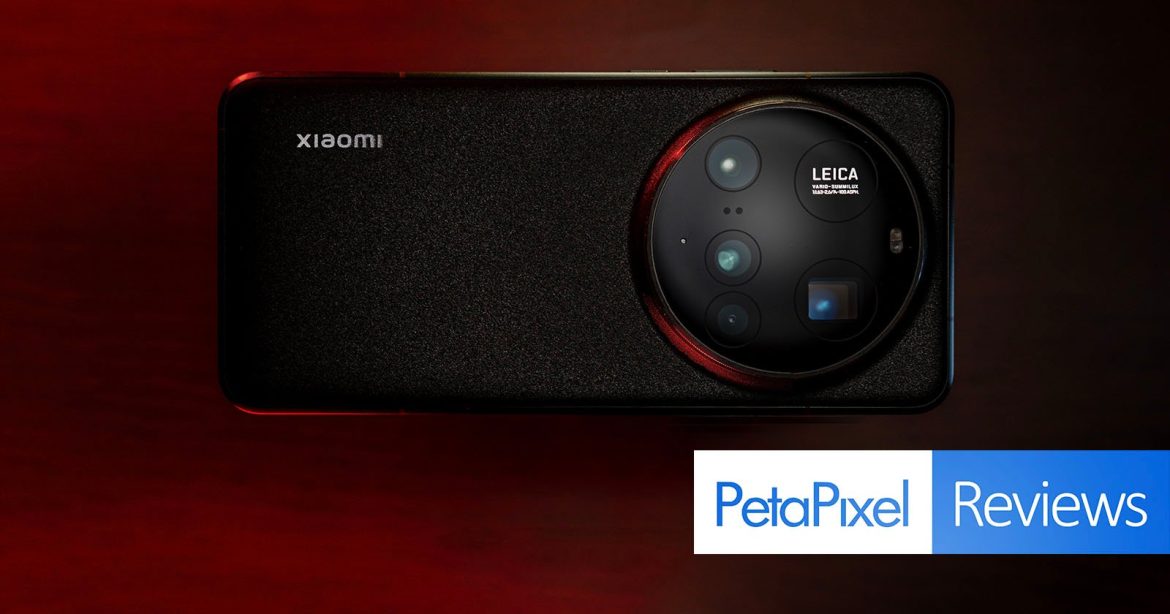
The Xiaomi 15 Ultra is designed and engineered to be the best in the business for mobile photographers, though tighter competition and a key drawback may make it harder to stake that claim.
[Read More]
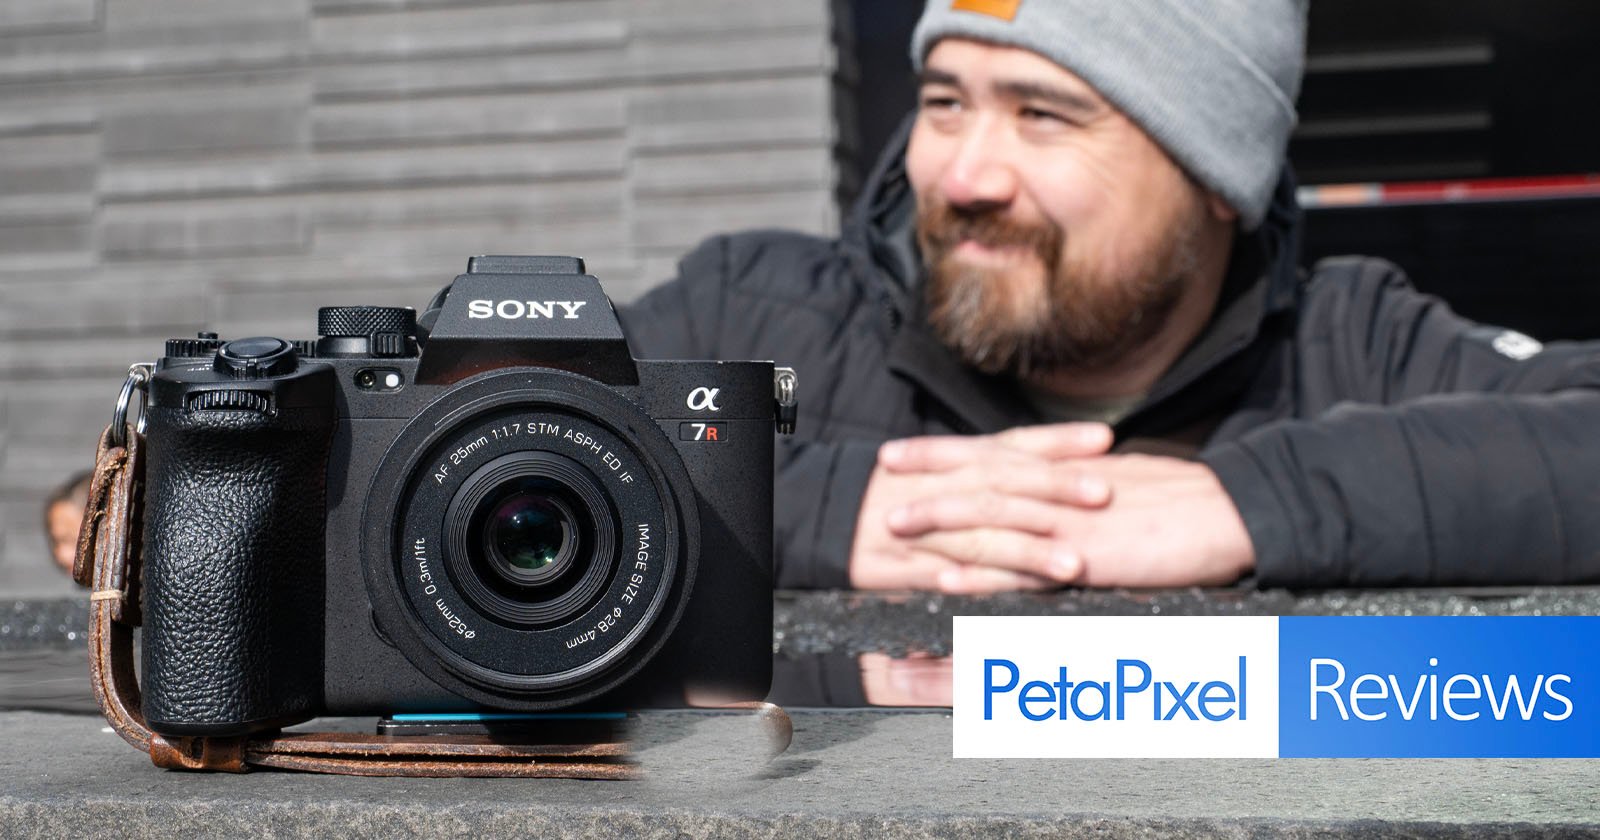
Viltrox is steadily expanding its line of lenses and I’ve committed to making 2025 the year that I review more of them. Viltrox lenses have earned a glowing reputation and I very much enjoyed the 135mm f/1.8. But the latest 25mm f/1.7 comes in at an incredibly low price of $179. Can a lens this affordable make a favorable impression or is it too good to be true?
[Read More]
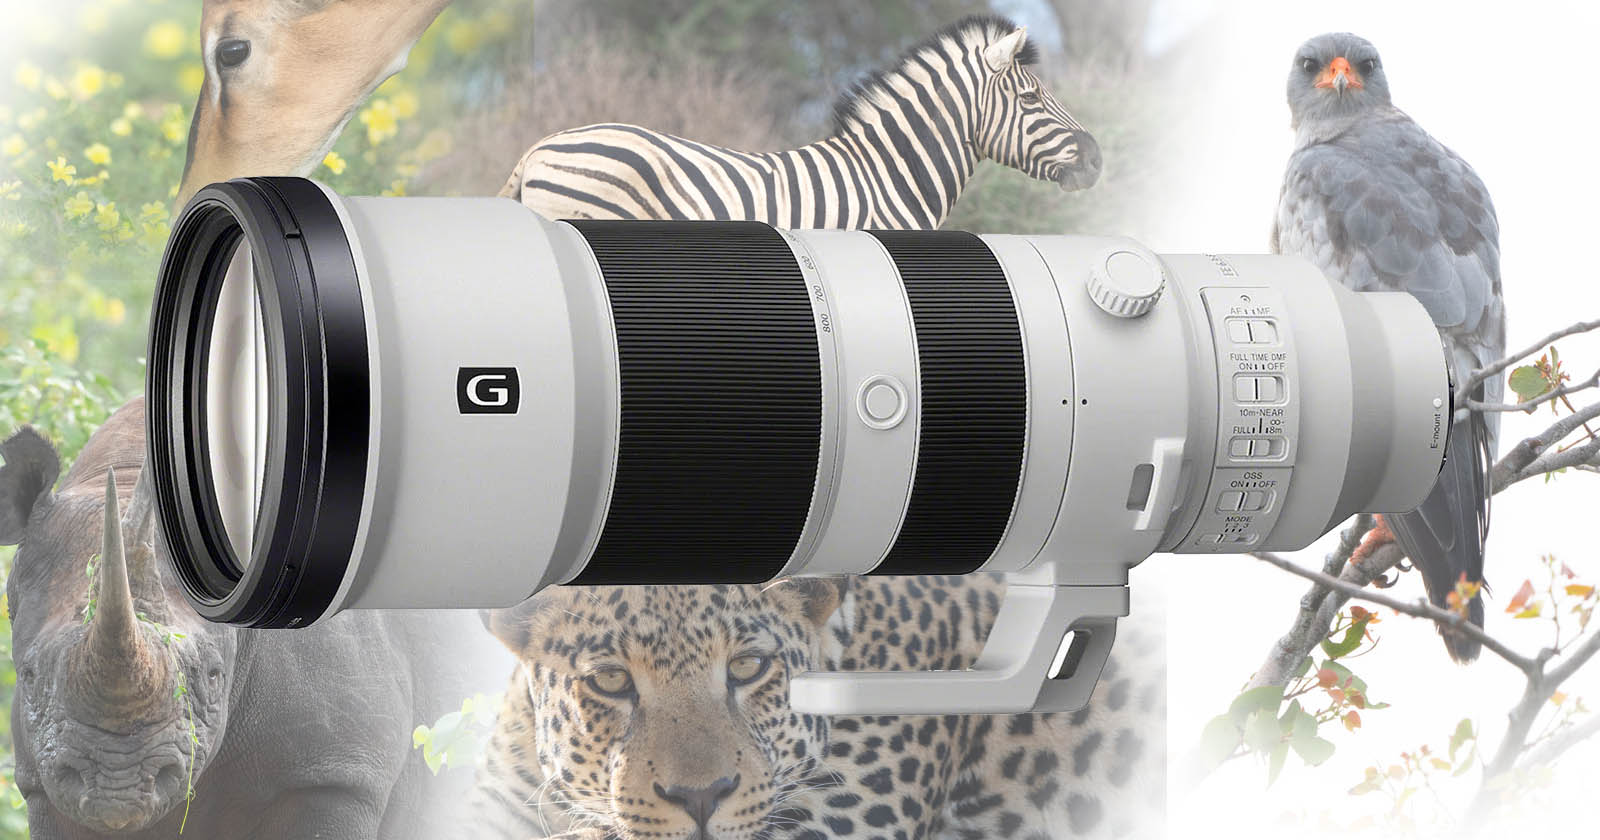
When I heard about Sony’s new FE 400-800mm f/6.3-8 G OSS, I was excited. As a wildlife photographer, the appeal of a lens with 800mm reach in a zoom format is undeniable.
[Read More]